Channel Types Manager
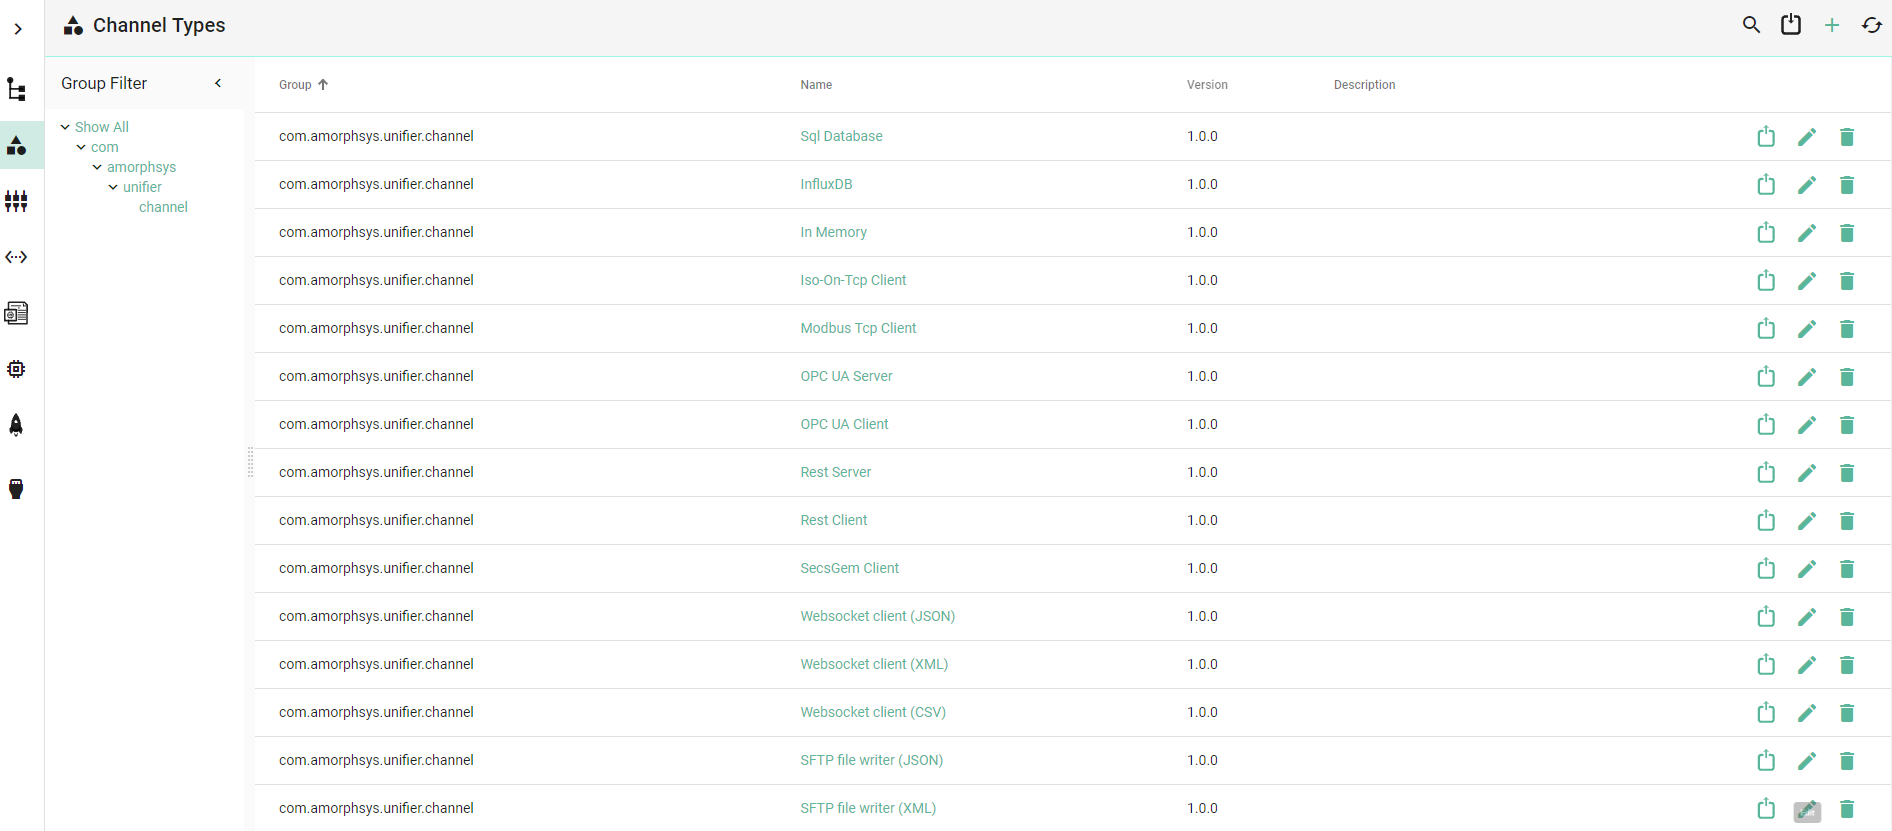
By default, the Channel Types Manager displays all Channels included in your current version of SMARTUNIFIER.
Communication Channels that should be used within the configuration of a SMARTUNIFIER Communication Instance have to exist in the Channel Types Manager. How to add new Channel Types is shown in the section below.
How to access
Follow the steps bellow to access the Channel Types Manager:
Click on the Account icon (1) and select the Advanced UI (2).
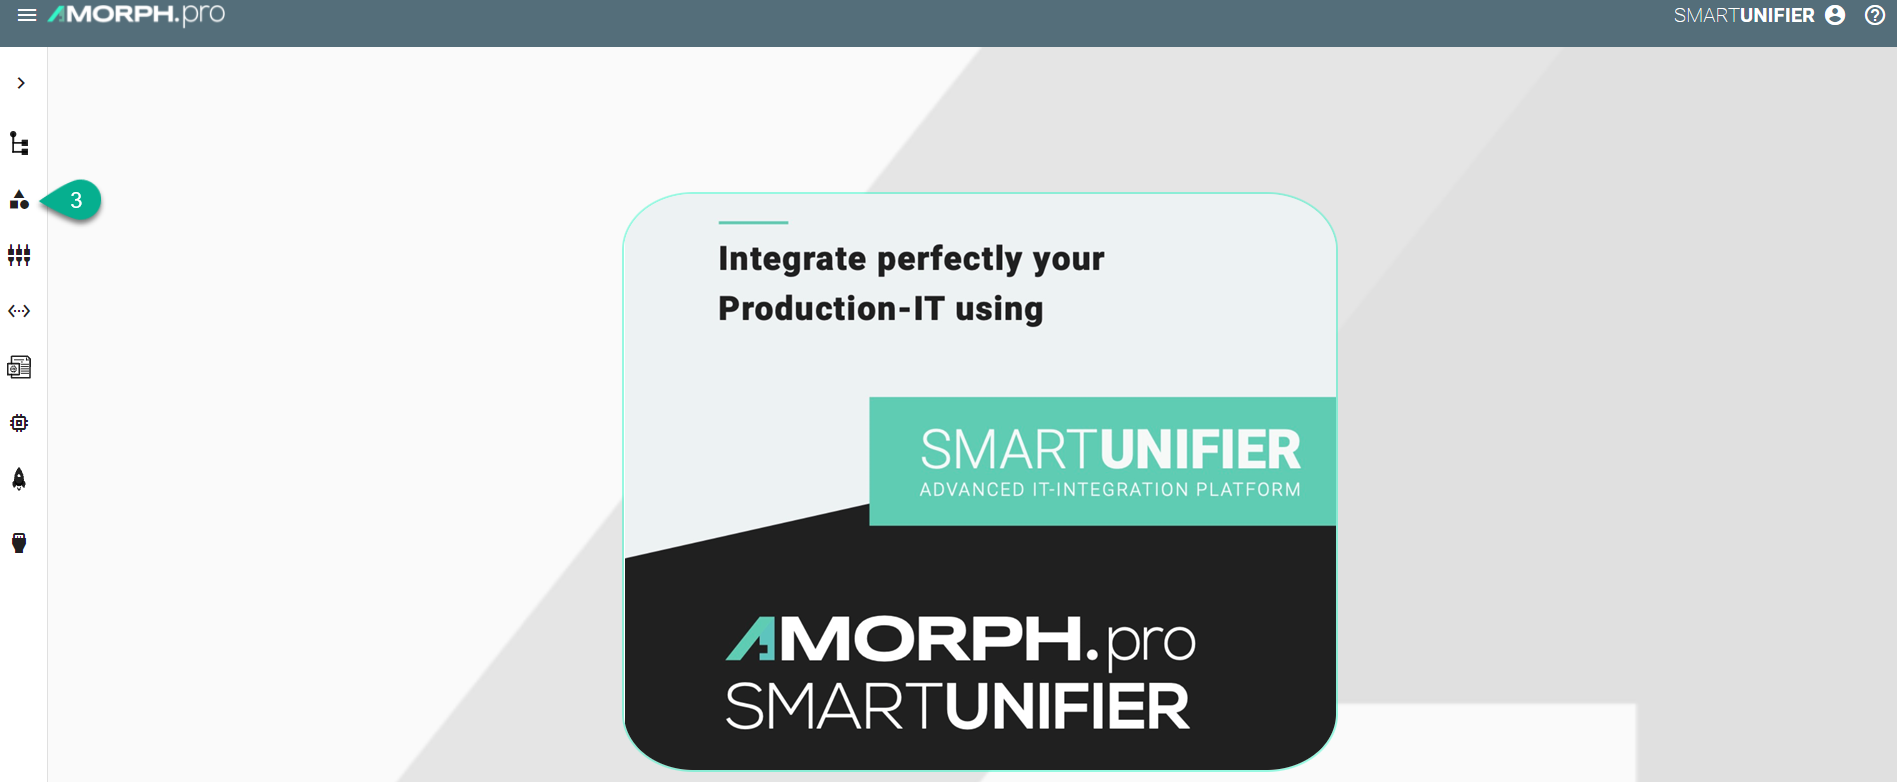
Click on the Channel Types button (3) to open the Channel Types perspective.
The main view of the Channel Types is visible.
Note
The Channel Types Manager can only be accessed by user accounts with an administrator role assigned.
About Layers
Implementations of SMARTUNIFIER Communication Channels consist of one and up to three so-called layers.
The target of layers is to transform data from Information Models into the respective data format of the specific protocol used in case the data traffic is outgoing from a SMARTUNIFIER Communication Instance. The same principle applies when data is incoming.
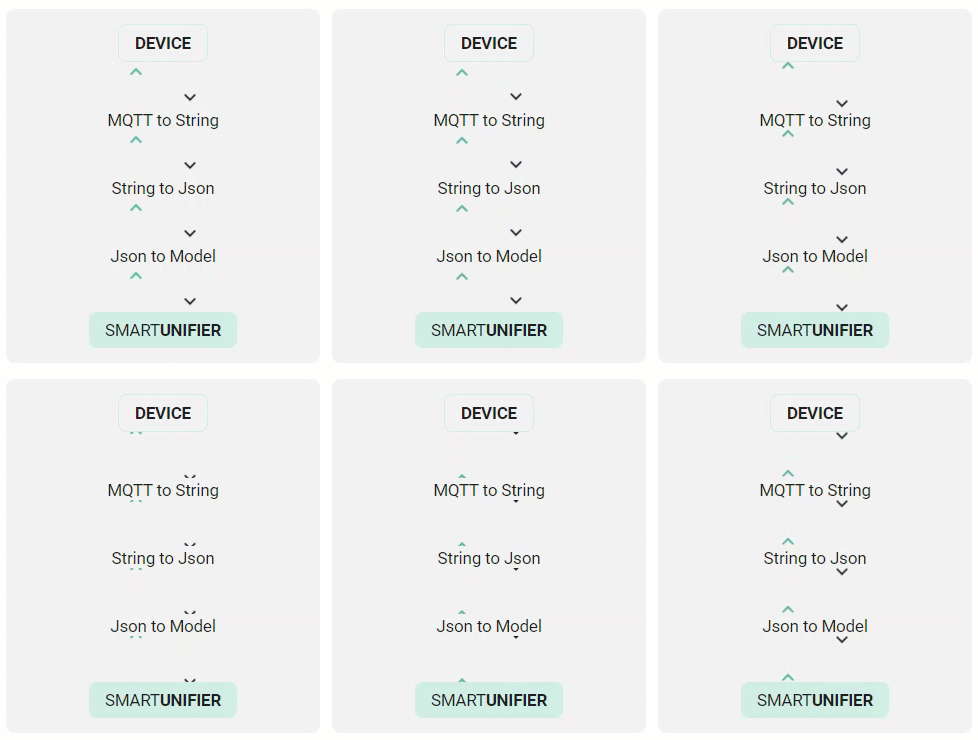
As an example for such a layer stack you can see below the layer stack for the MQTT Communication Channel:
Data that is incoming from a Device is transformed into a String behind the scene.
The String is then converted into a JSON Object.
Finally, the JSON is used to assign data to the assigned Information Model.
How to create a new Channel Type
Follow the steps below to create a new Channel Type:
Open the SMARTUNIFIER menu and select Advanced UI.
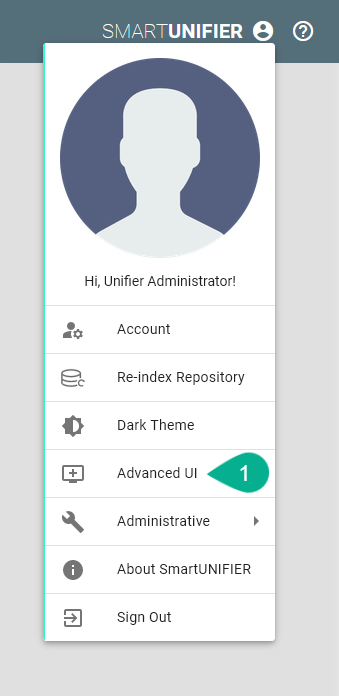
Go to the Channel Types perspective by clicking the Channel Types button.
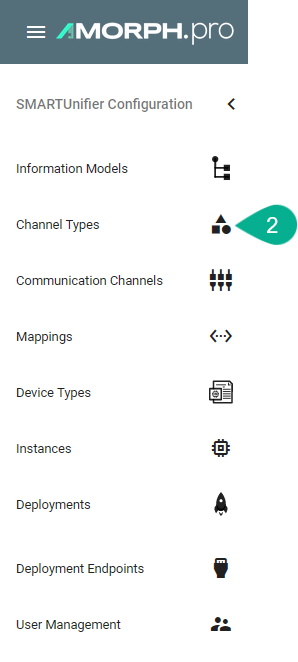
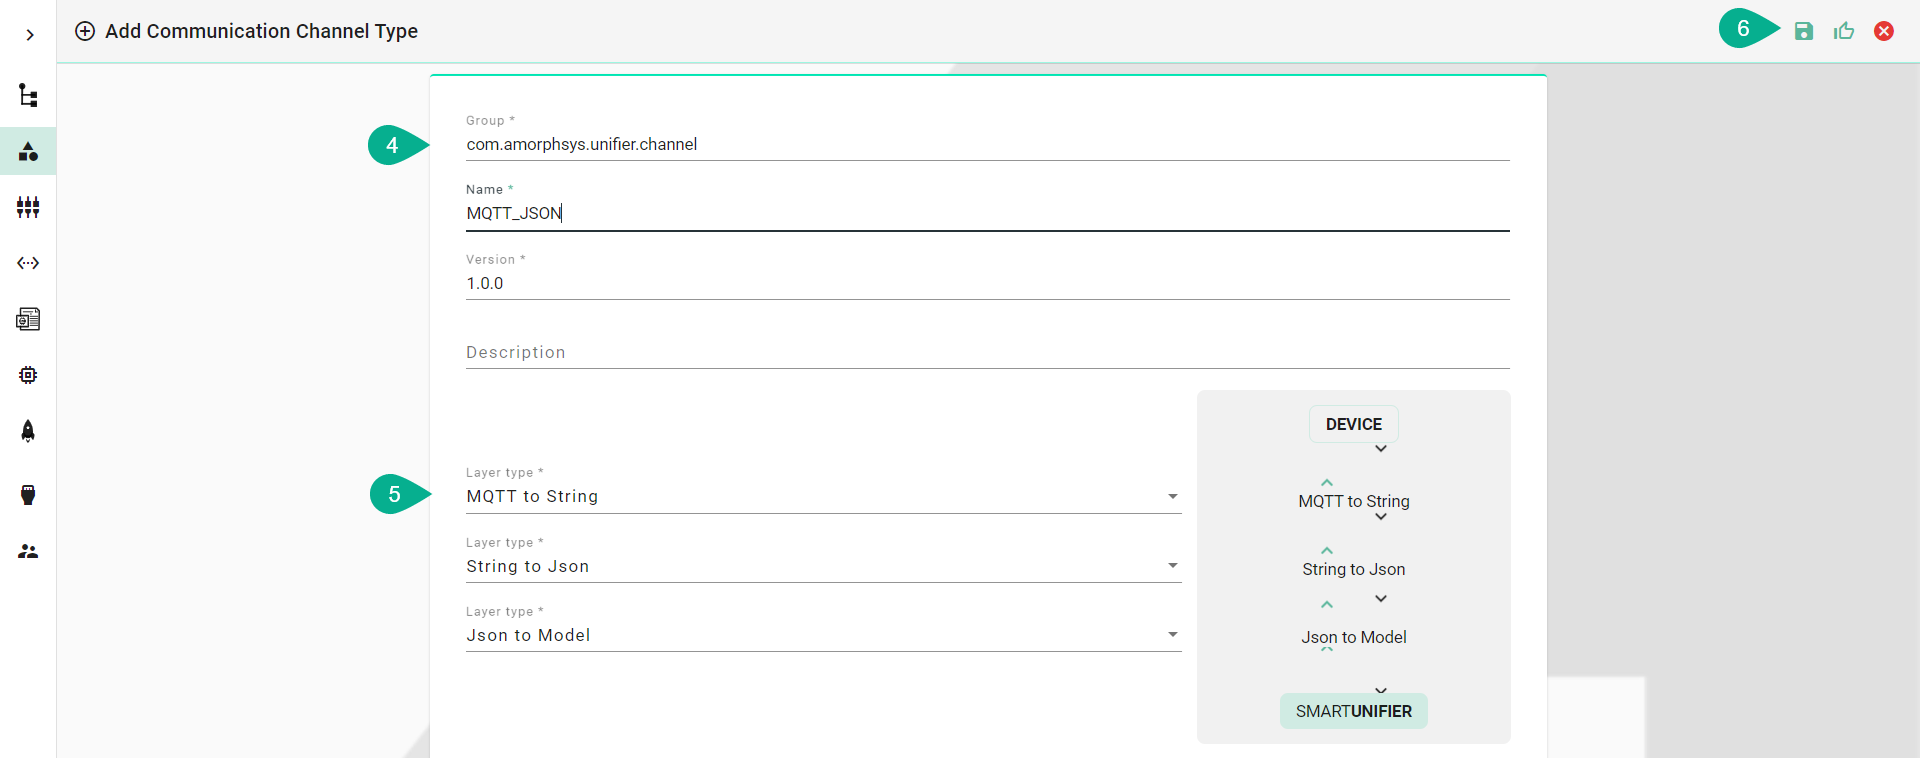
Click on the Add button in the upper right corner.

Enter some descriptive information:
Enter a group
Enter the name of the Channel
Enter a version
Next, define the layer stack of the new Channel Type:
Select a layer with the Layer type drop-down menu.
In case the selected layer has more layers dependent on itself, select again another layer with the Layer type drop-down menu showing up below.
To save the Communication Channel Type select the Save button.
