Deploy Locally
SMARTUNIFIER Communication Instances can be deployed on the IT-resource where the SMARTUNIFIER Manager is running on (e.g., a computer, a server or the AWS Cloud).
Follow the steps described below in order to deploy a Communication Instance locally:
Select the SMARTUNIFIER Deployment perspective (1).

Click on the “Add Deployment” button (2).
Select the Deployment Type Local from the pop-up (3).

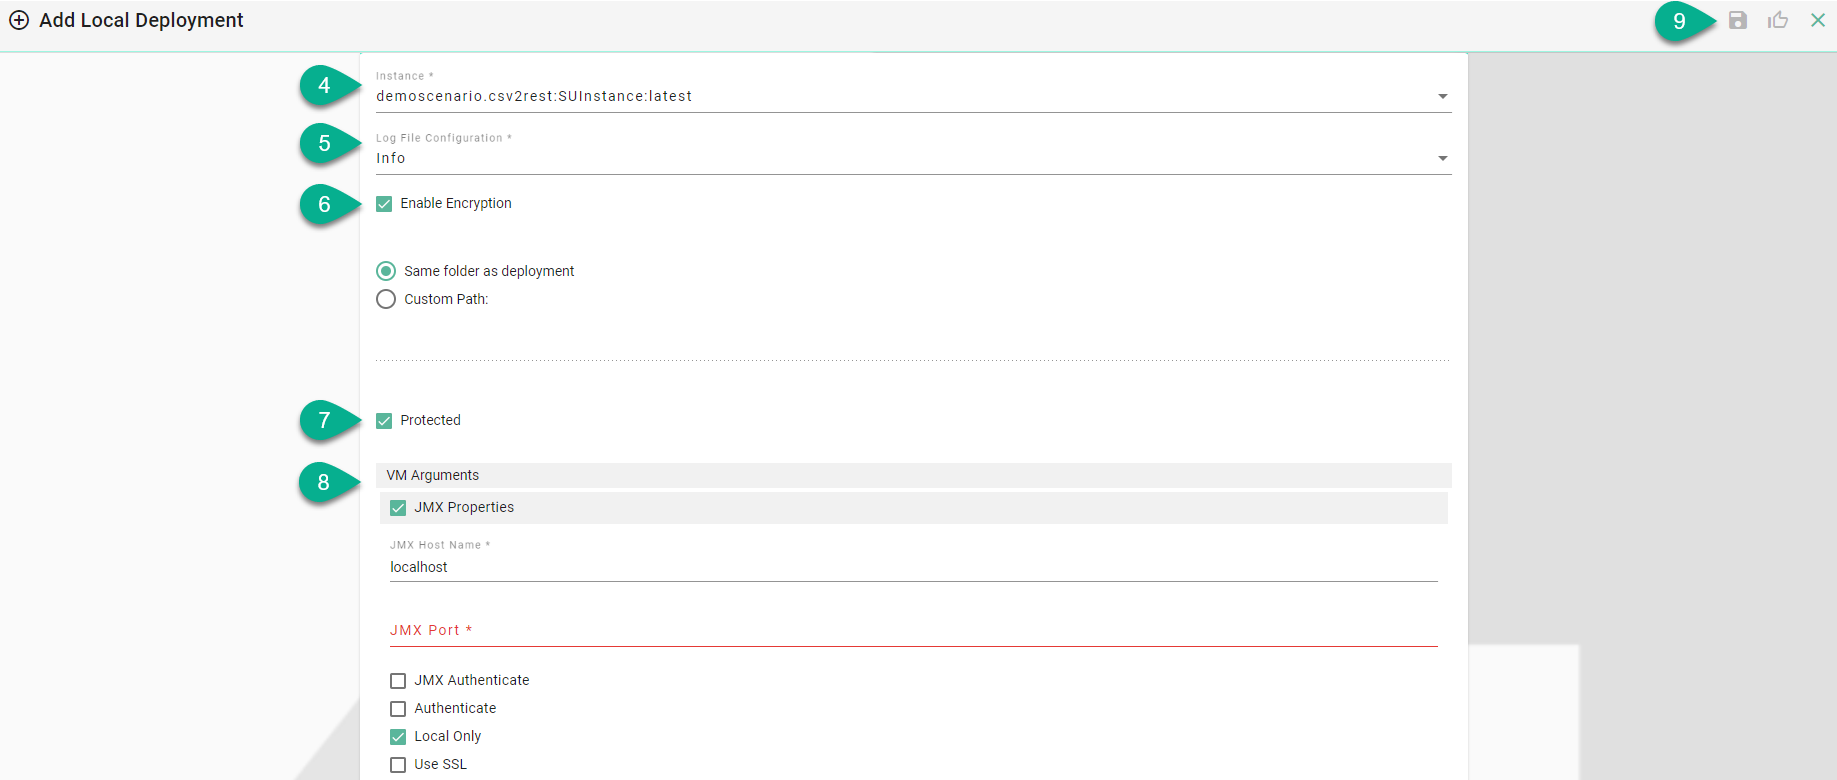
Select the SMARTUNIFIER Communication Instance to be used in the Deployment (4).
Select the log file level (5). We recommend the log level of type Info in case of a normal deployment scenario.
(Optional) Enable Encryption (6).
(Optional) Enable Protection (7).
(Optional) Add VM Arguments (8).
When all mandatory fields are filled click the “Save” button (9).