Run the Instance
The communication between the MES system (Node-Red) and the Equipment Simulator is facilitated by the SMARTUNIFIER Instance.
First add the Instance to a local deployment:
Open “Deployments” section (1).
Click on the “Add” button (2).
Select the “Local” option (3).

Select the “Instance” from the dropdown (4).
Select “Info” from the “Log File Configuration” dropdown (5).
Check “Enable Encryption” (6) to have all credentials encrypted in the configuration files.
Enable “Protected” (7) in order to secure the deployment - A confirmation will be required for further changes on the deployment (e.g., deploy, undeploy, start, stop).
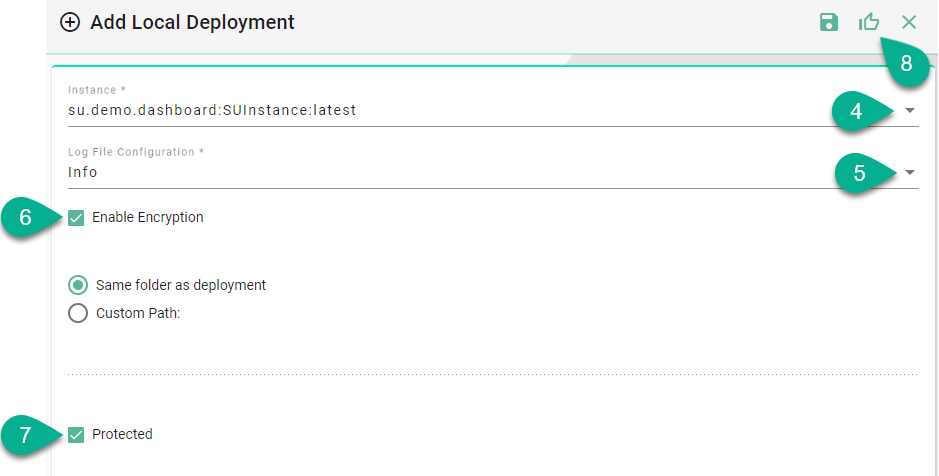
Click the “Save and Close” button (8).
Then run the Instance:
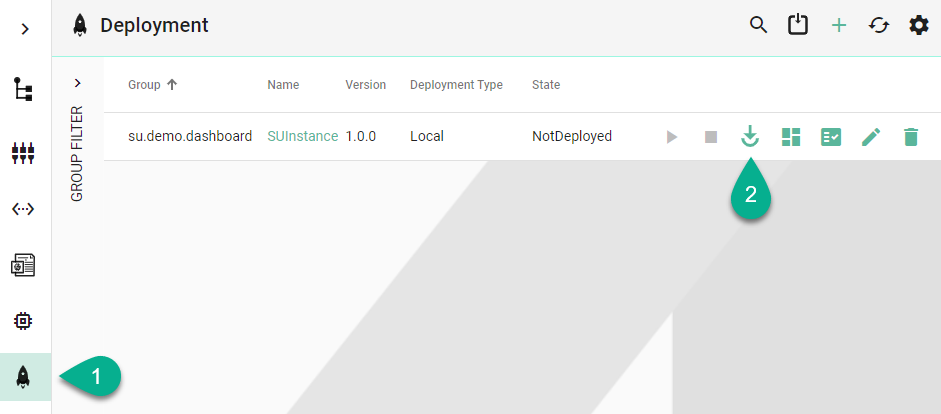
Open the “Deployments” section (1).
Click the “Deploy” button (2).
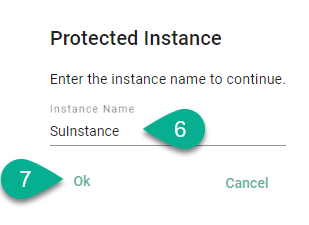
Enter the Instance name (3) to confirm the action and click the “Ok” button (4).

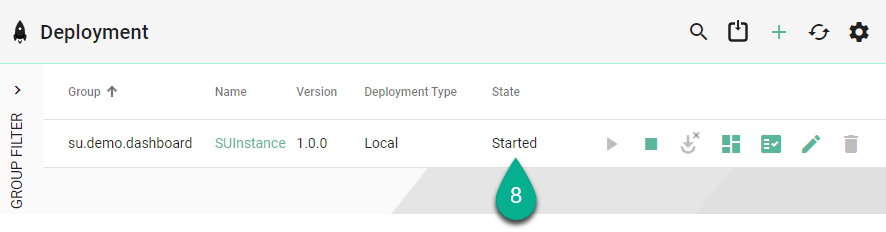
Click the “Start” button (5) to run the Instance.

Enter the Instance name (6) to confirm the action and click the “Ok” button (7).
The Instance is running (8).