Start the Simulation
The Demonstrator use case illustrates the connection between a MES system and a production equipment, connection facilitated by the SMARTUNIFIER.
To run the simulation, three steps are required:
Release Order
Start Order
Start Failure
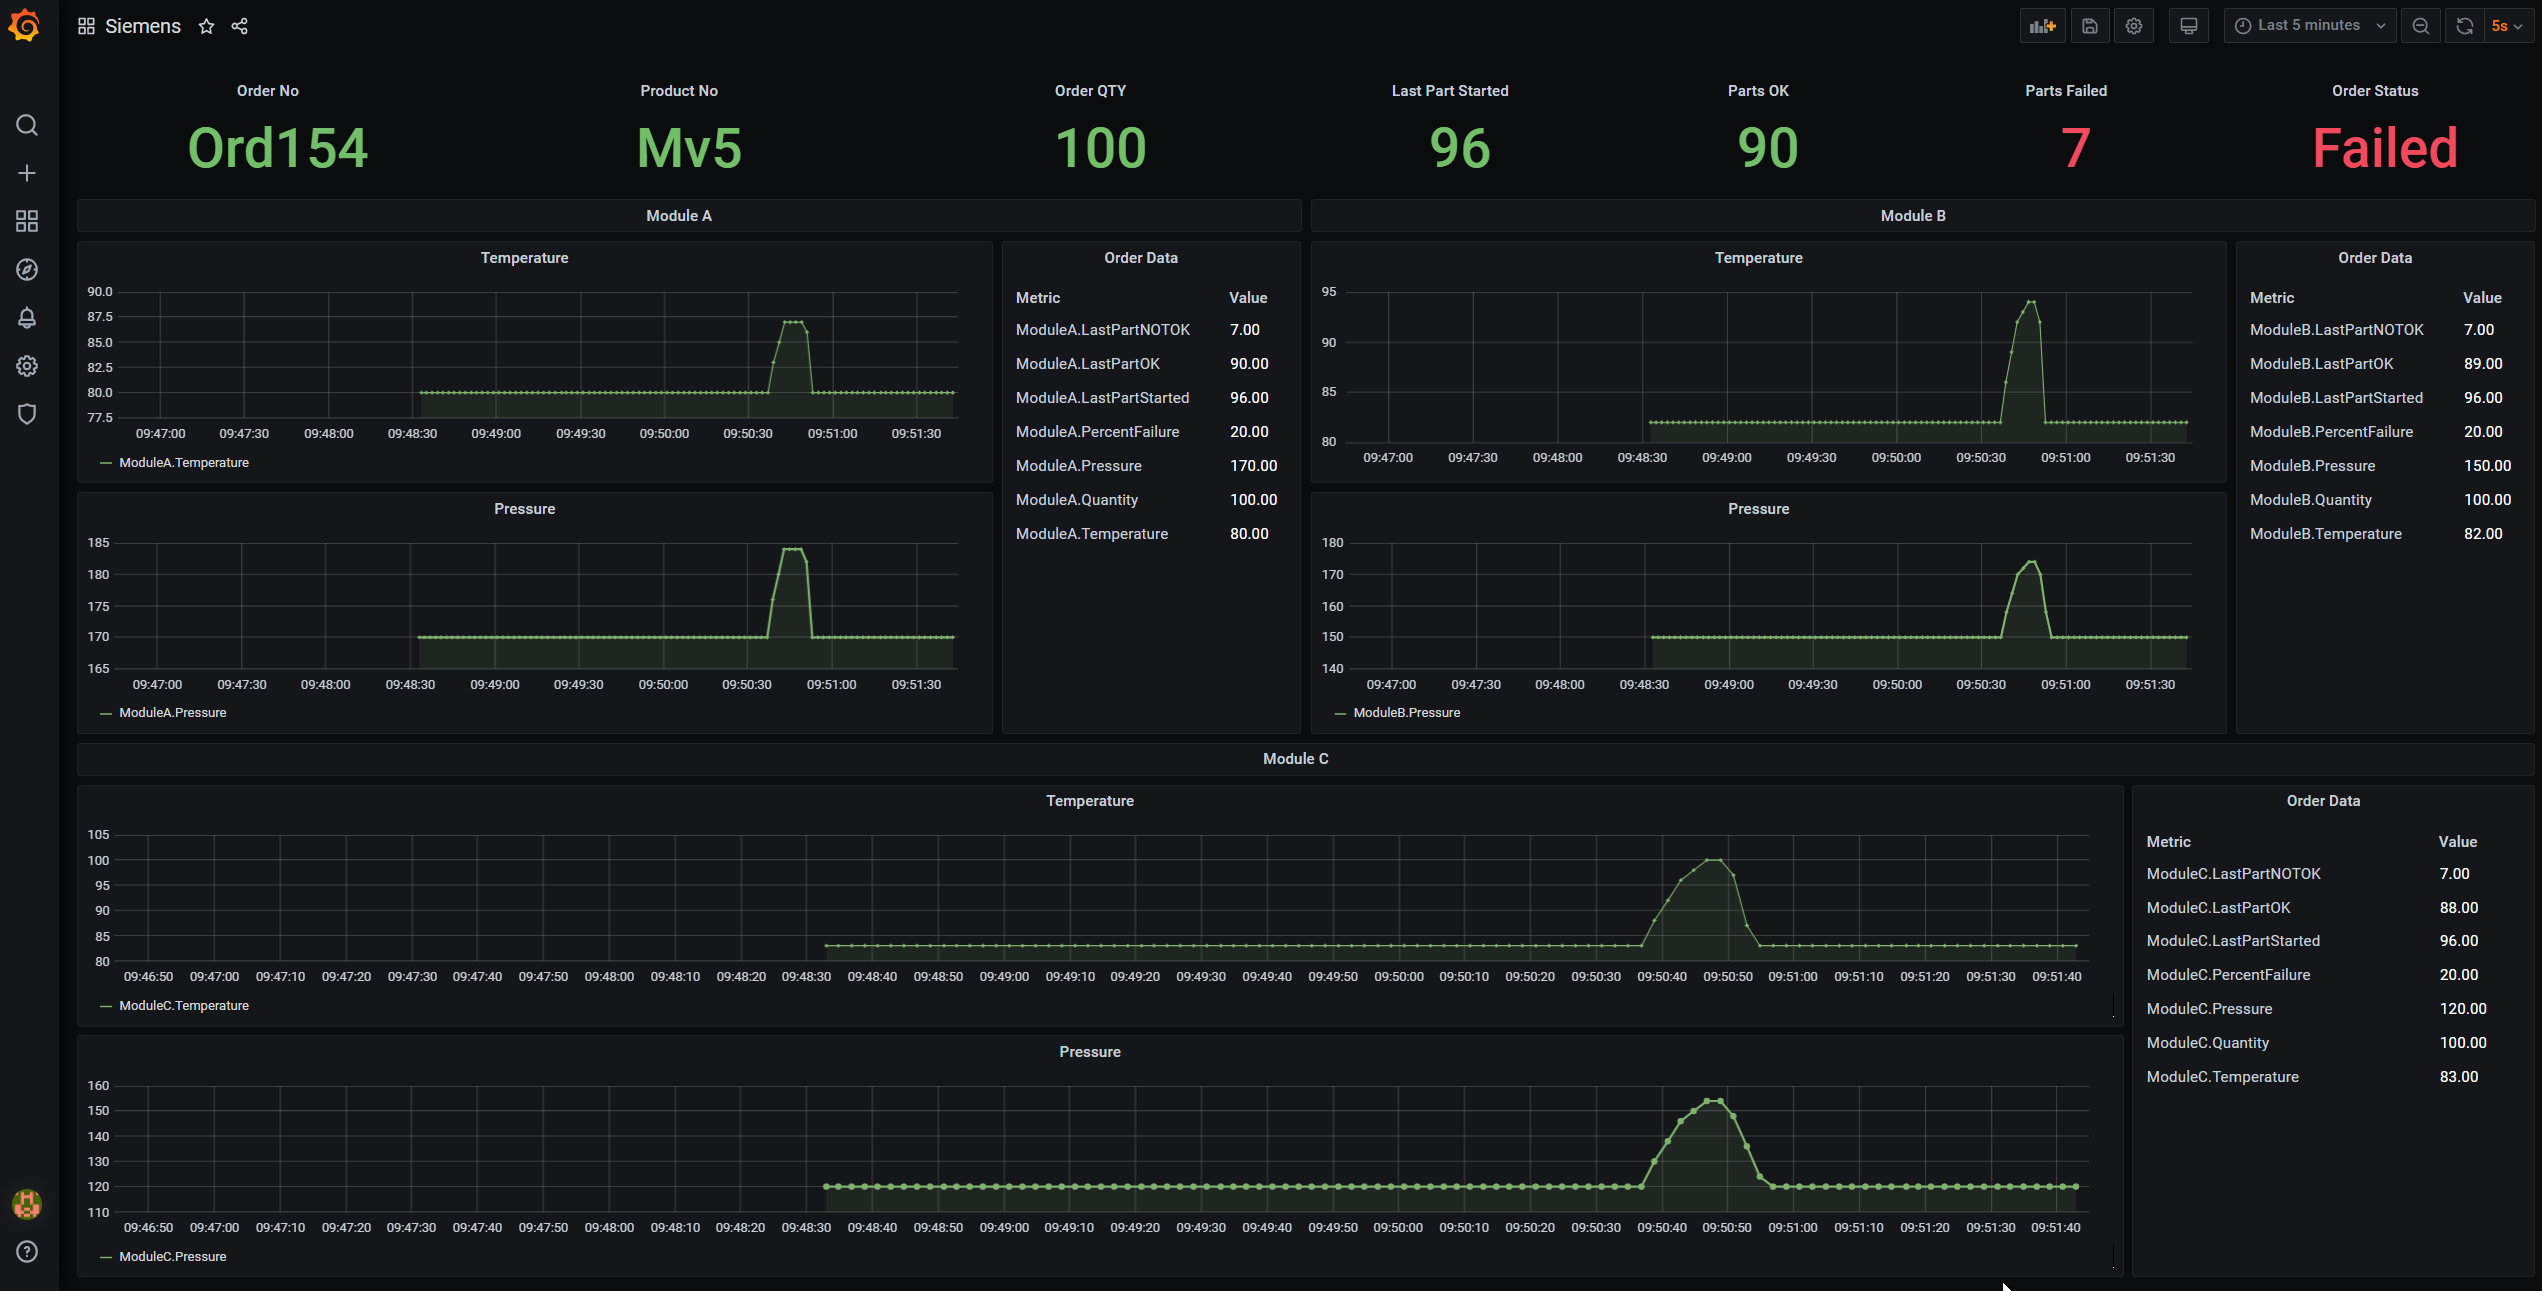
Each simulation step can be initiated from the Node-Red Dashboard (MES Simulator). The simulation results will be visible in Grafana Dashboard.
Release Order
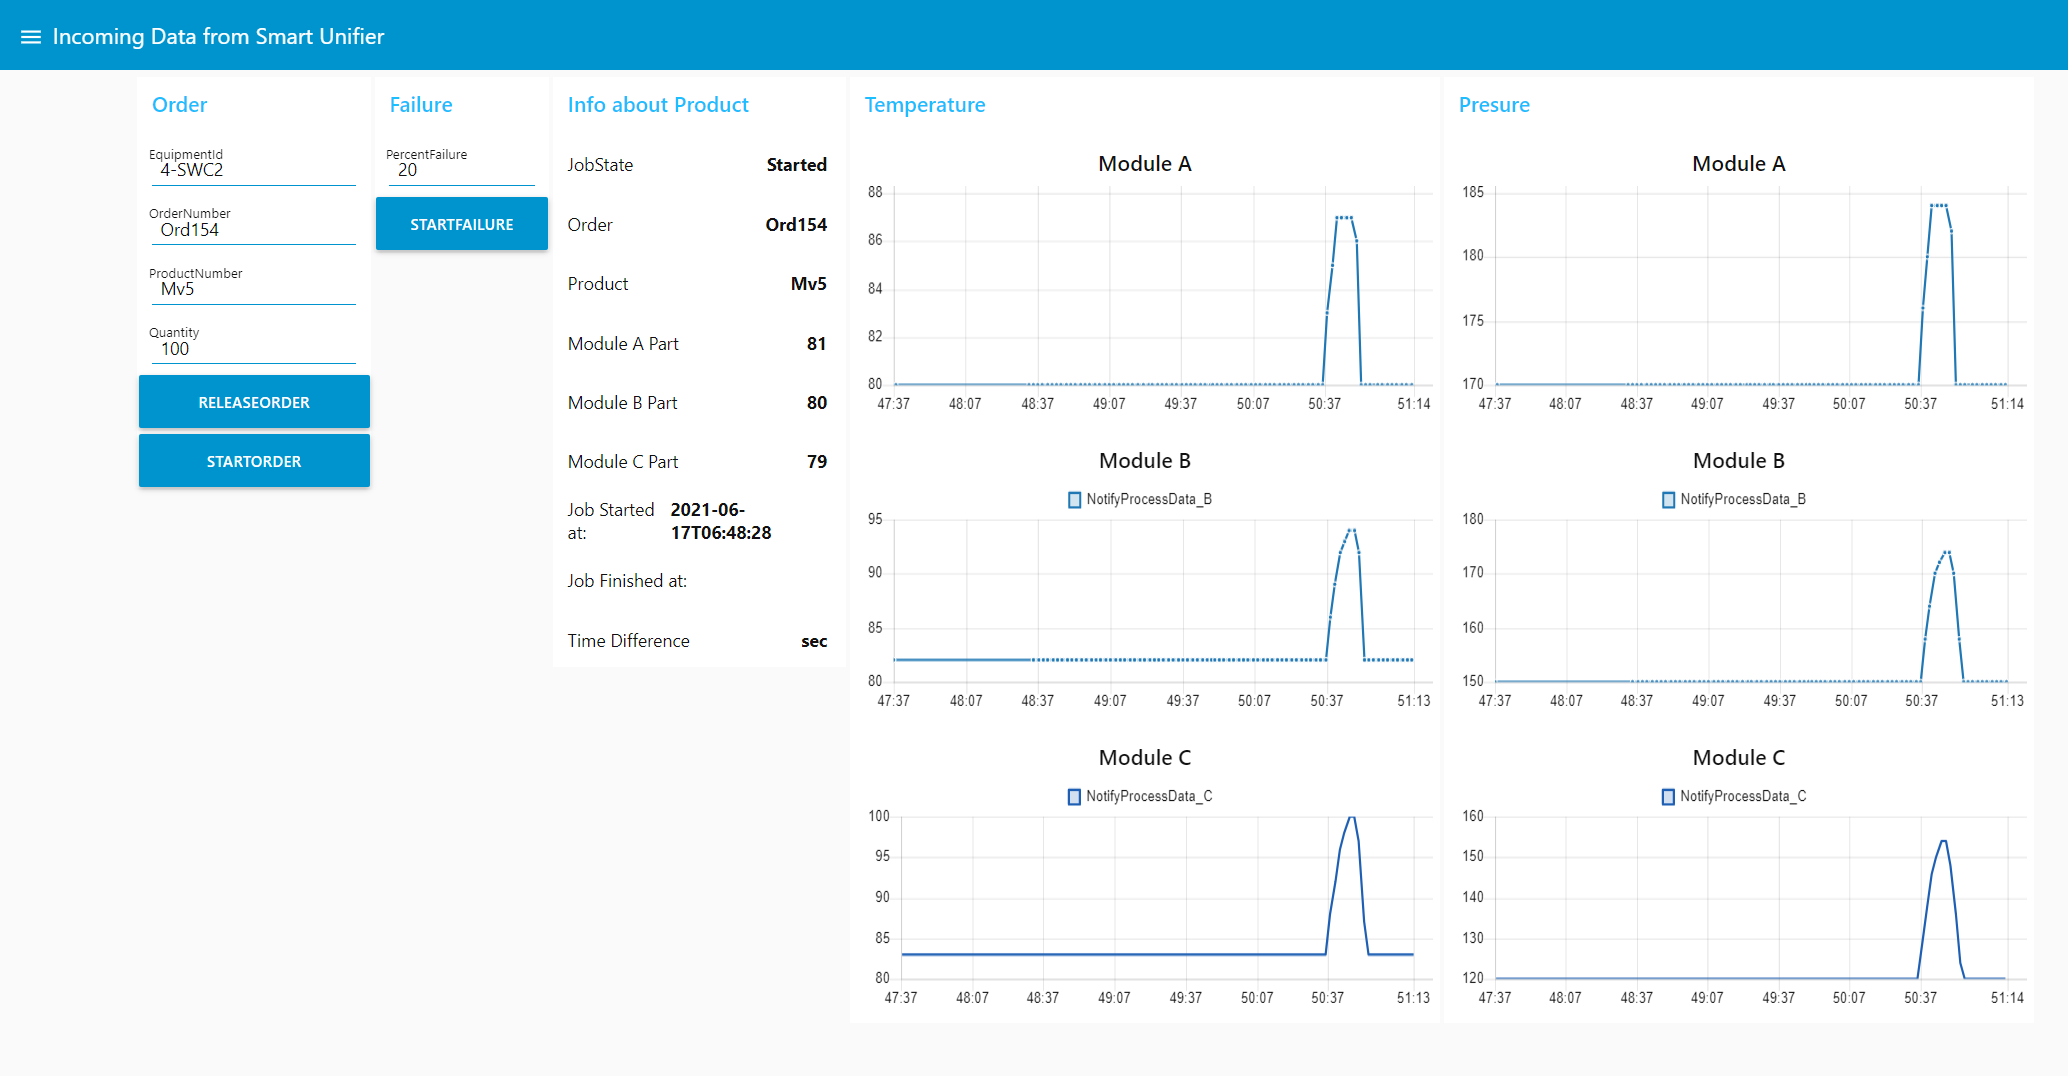
To start the simulation scenario, first input the order data (1) and release the order (2) from the Node-Red dashboard (MES Simulator).
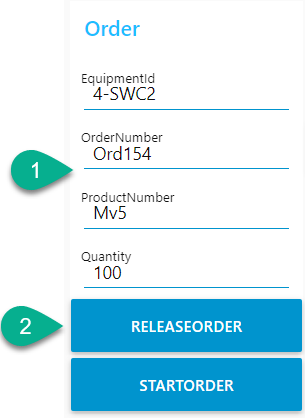
Releasing of the order posts a message on the MQTT Broker that is picked up by the SMARTUNIFIER Instance and sent to the Equipment Simulator.
Start Order
Second step is to Start the order (3) from the Node-Red dashboard. A new message is posted on the MQTT Broker and via the SMARTUNIFIER Instance sent to the Equipment Simulator instructing it to start the production.
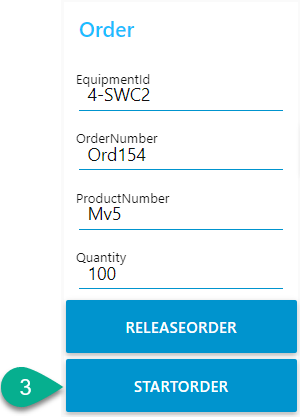
The Equipment Simulator is built to have 3 production modules. The produced parts start in Module A continue production in Module B and finish on Module C. Once the Equipment Simulator starts to produce parts every Module will mark the production of a part.
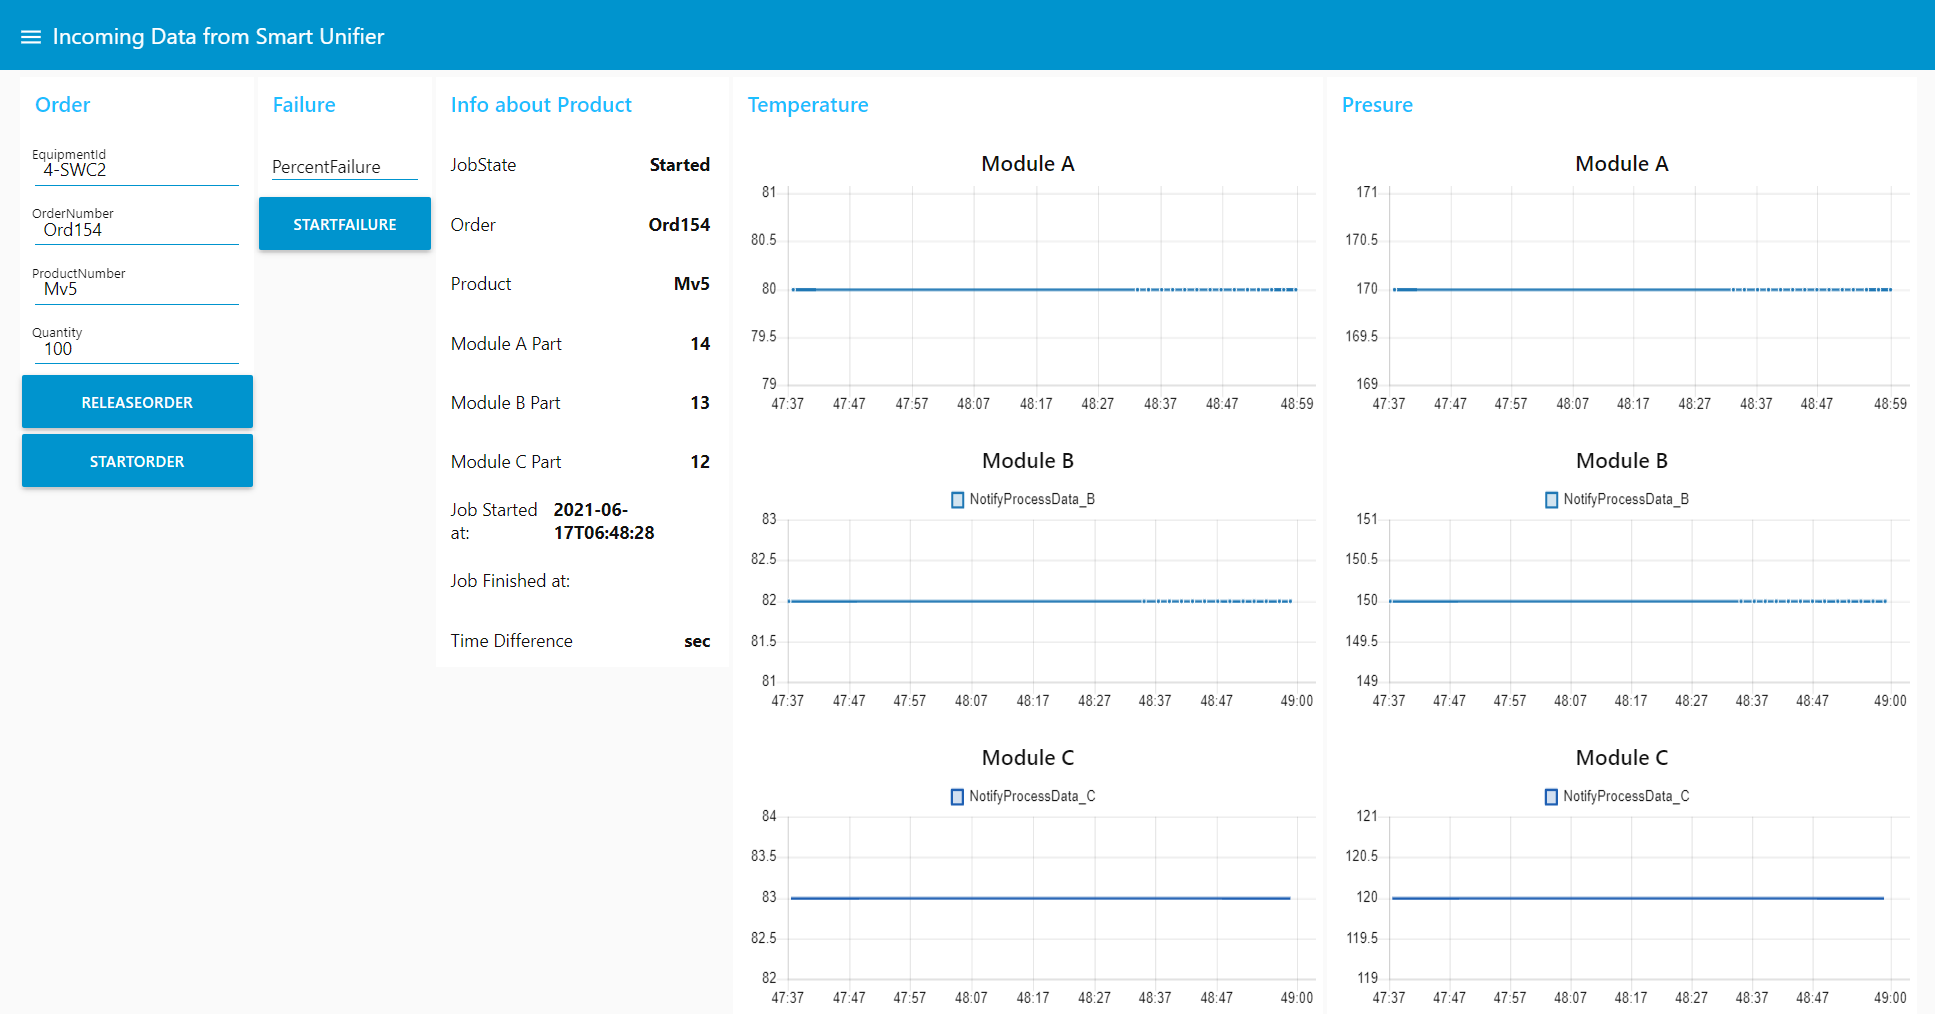
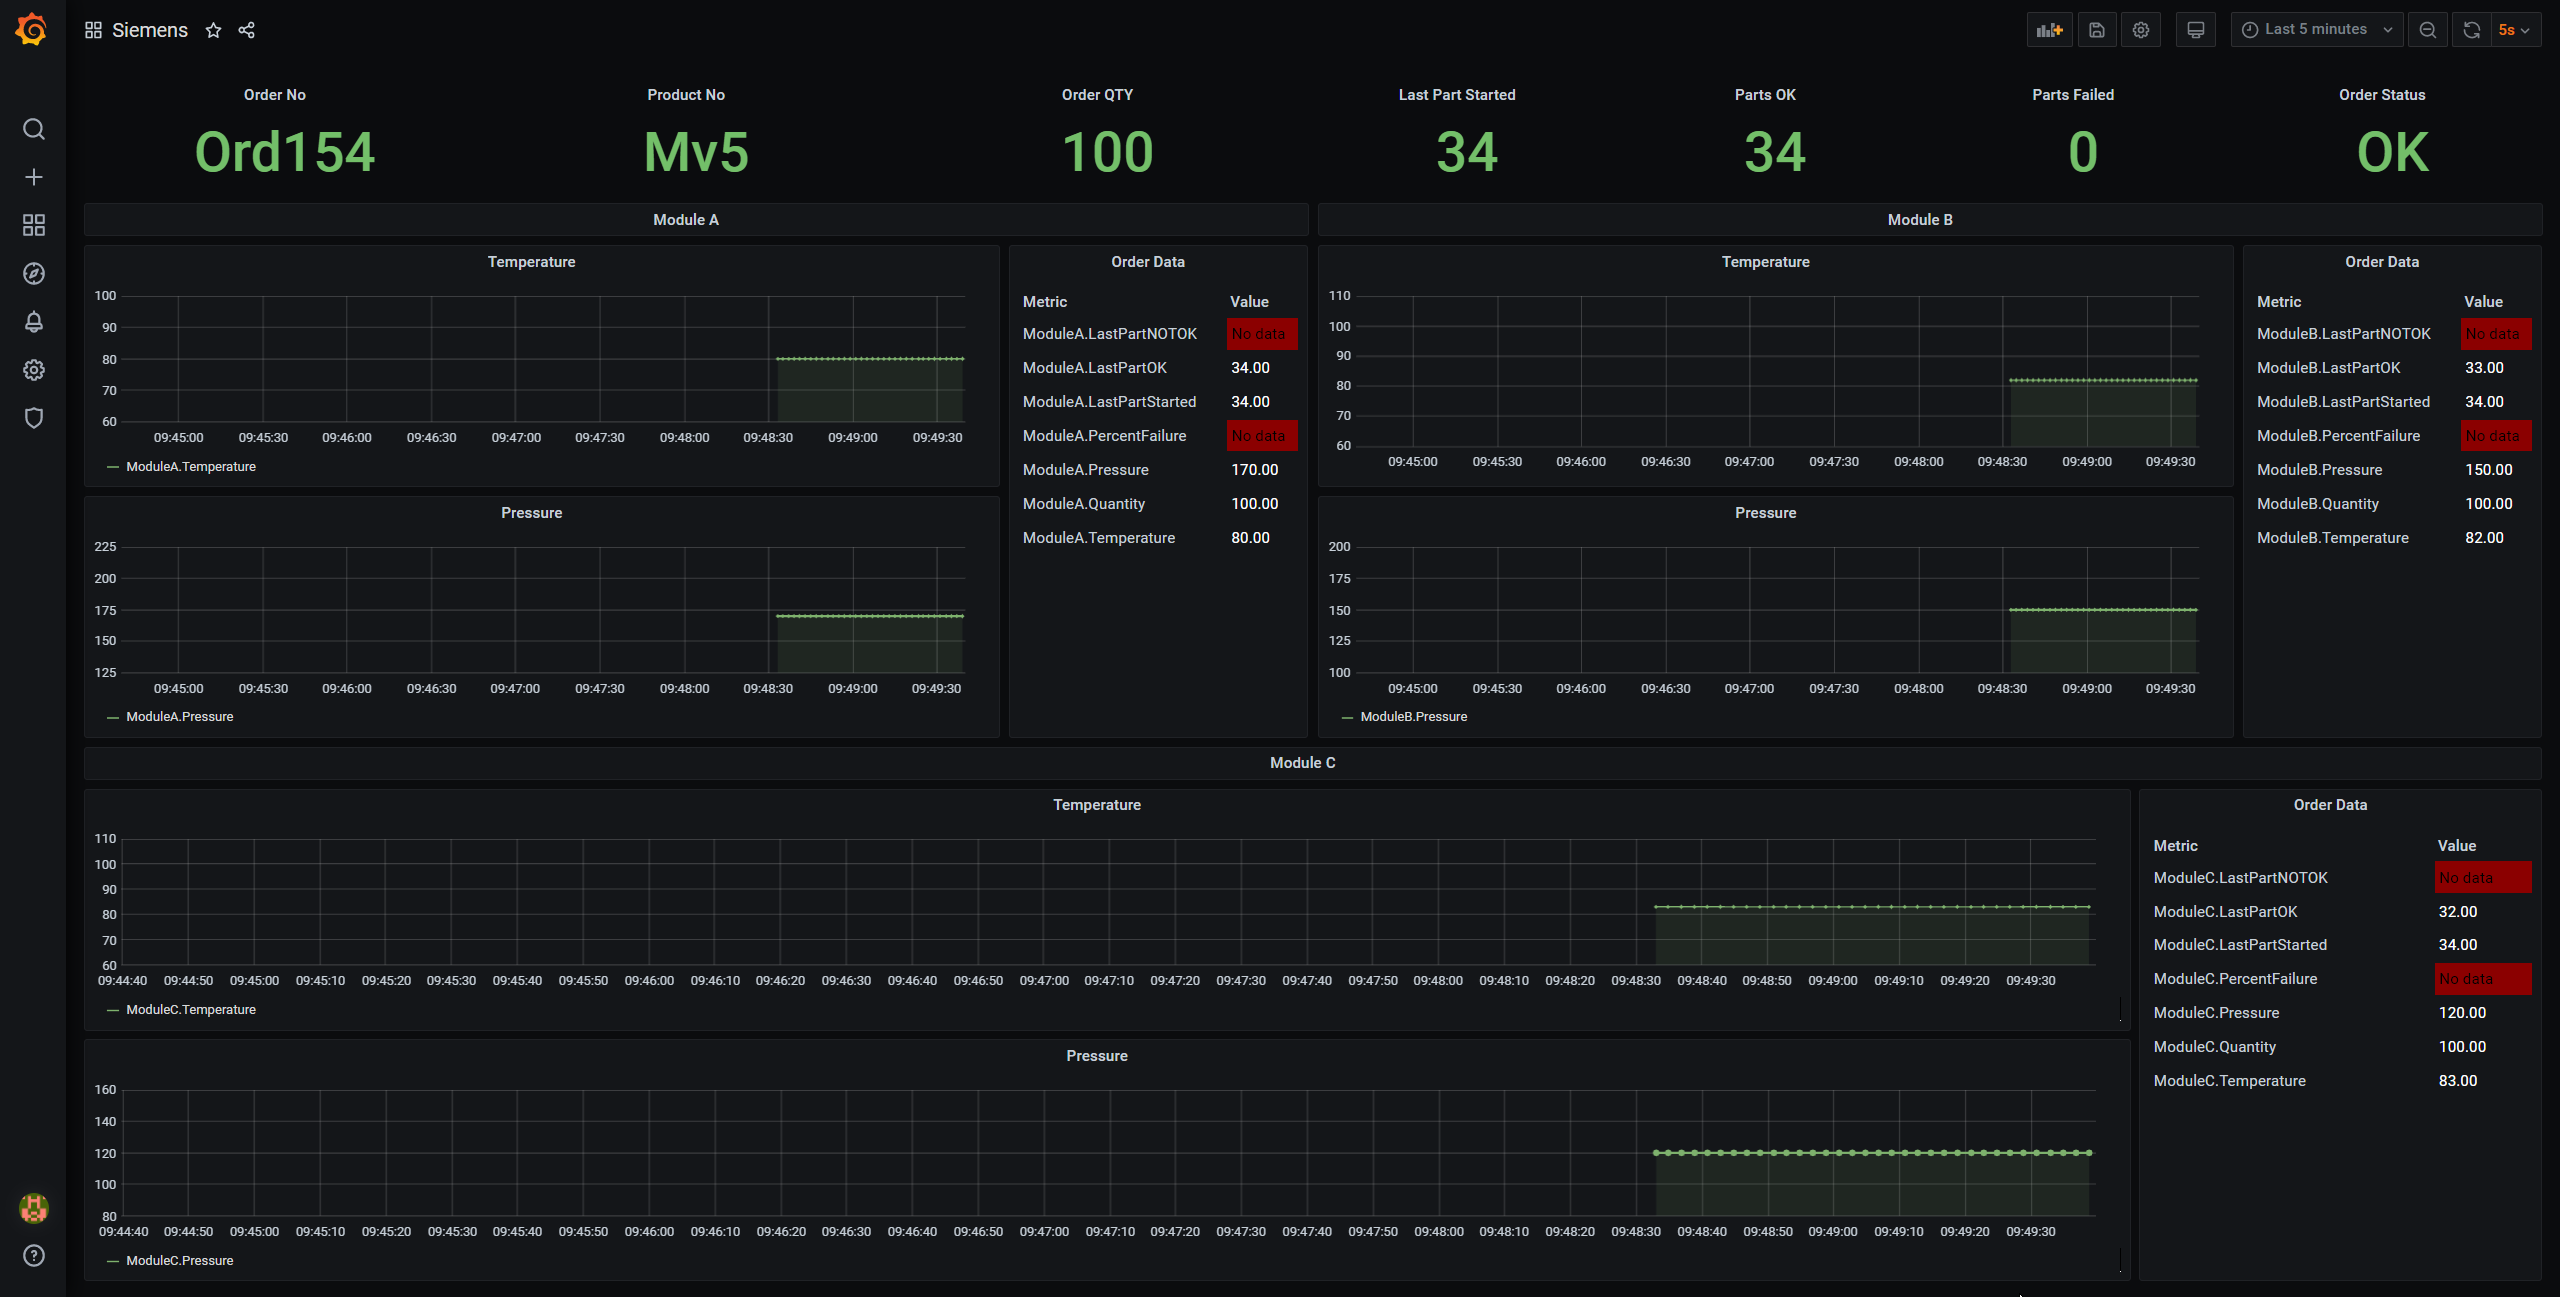
The change that happens on each module is picked up by the SMARTUNIFIER and data is sent simultaneously towards MQTT Broker and Influx Database in order to allow the follow up of the production using Grafana.
Start Failure
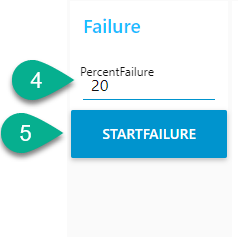
The Equipment Simulator is capable to simulate production of failed parts by accessing the option “StartFailure” from the Node-RED dashboard. Add a value (percentage of failed parts to be generated by the Equipment Simulator) to the input box (4) and click the “StartFailure” button (5).
All the data provided by the Equipment Simulator is stored using the SMARTUNIFIER in the Influx database and the overall process can be viewed on the Grafana dashboard.
