Windows
Step 1 - Install the SMARTUNIFIER and the Docker Components:
Move the installation package to a suitable location.
Open “Docker Desktop” application.
Run the .exe file to start the setup.
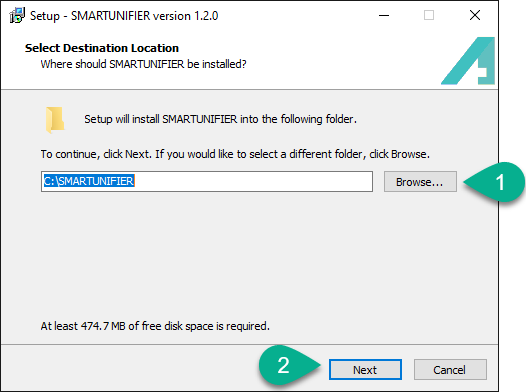
Click on the “Browse” button (1) to change the location of the installation.
Select the “Next” button (2) to continue.
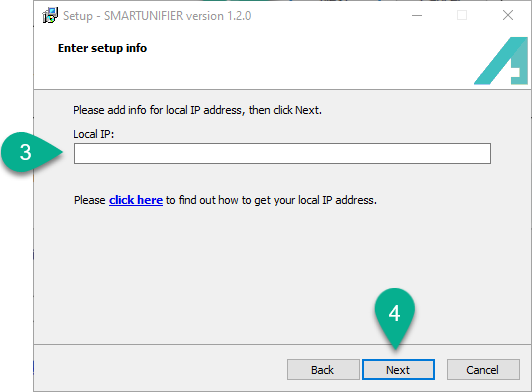
Enter the local IP address (3). Select the “Next” button (4) to continue.
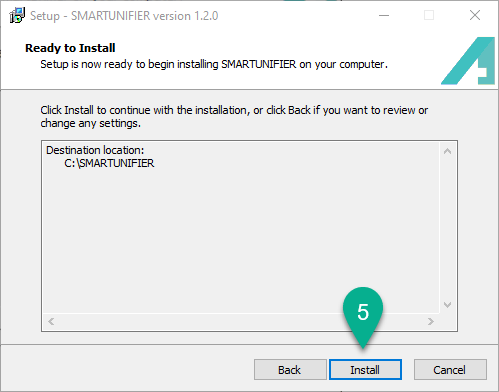
Click on the “Install” button (5) to start the installation.
Check the box (6) to create SMARTUNIFIER Service (optional).
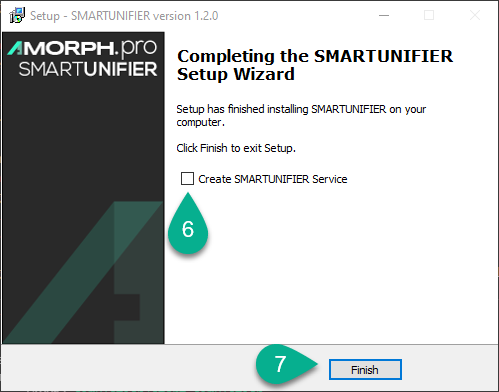
Select the “Finish” button (7) to finallize installing the SMARTUNIFIER. The console will open and the extraction of the Docker components starts.
After the console is closed, the Docker components are installed in a few seconds:
moquette
nodered
grafana
influxdb
simulator
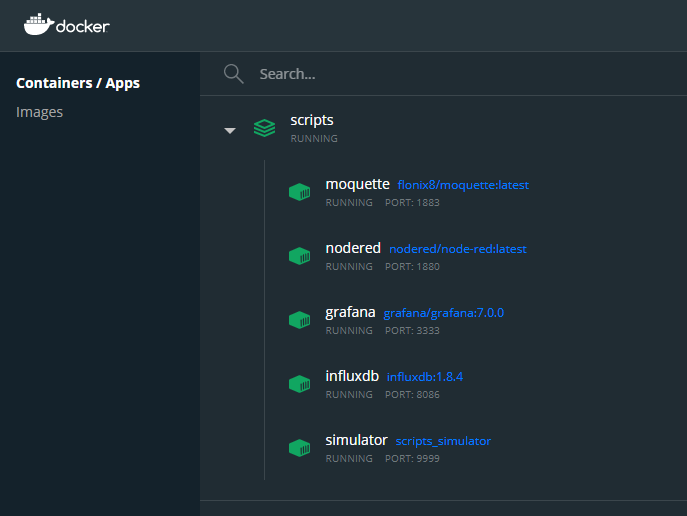
If a Docker container is deleted, it can be redeployed. From the scripts folder (install_location/SMARTUNIFIER/scripts) open the console (CMD) and execute:
to deploy InfluxDb container:
deploy.bat influxdb
to deploy Grafana container:
deploy.bat grafana
to deploy Node-Red container:
deploy.bat nodered
to deploy MQTT broker container:
deploy.bat moquette
to deploy Equipment Simulator container:
deploy.bat simulator
to deploy all containers:
deploy.bat
Uninstalling
To undeploy a docker container, from the scripts folder (install_location/SMARTUNIFIER/scripts) open the console(CMD) and execute:
to remove InfluxDb container:
cleanup.bat influxdb
to remove Grafana container:
cleanup.bat grafana
to remove Node-Red container:
cleanup.bat nodered
to remove MQTT broker container:
cleanup.bat moquette
to remove Equipment Simulator container:
cleanup.bat simulator
to remove all containers:
cleanup.bat
Follow the steps below to uninstall all the Demonstrator components (folders, files, Docker container):
Make sure the Demonstrator Instance is NOT running.
Make sure the “Docker Desktop” application IS running.
There are two options to uninstall the Demonstrator:
Using Windows System settings section:
Go to “Add or remove programs” and uninstall SMARTUNIFIER application.
Run the unins000.exe file from the “SMARTUNIFIER” folder.
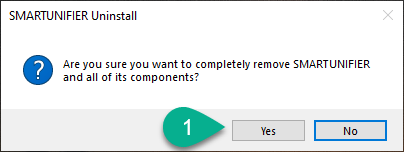
Select the “Yes” button (1) to confirm.
Select the “OK” button (2) to finish.
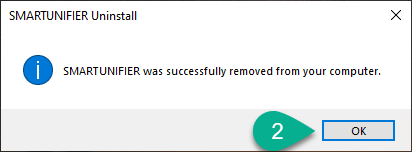
All the Demonstrator components are removed.
Step 2 - Running the SMARTUNIFIER
SMARTUNIFIER can be started as an application or as a service.
Running SMARTUNIFIER as an Application
If SMARTUNIFIER was not installed as a service, execute the UnifierManager.bat script located in the installation folder. Afterwards the SMARTUNIFIER Manager Console appears on the screen.
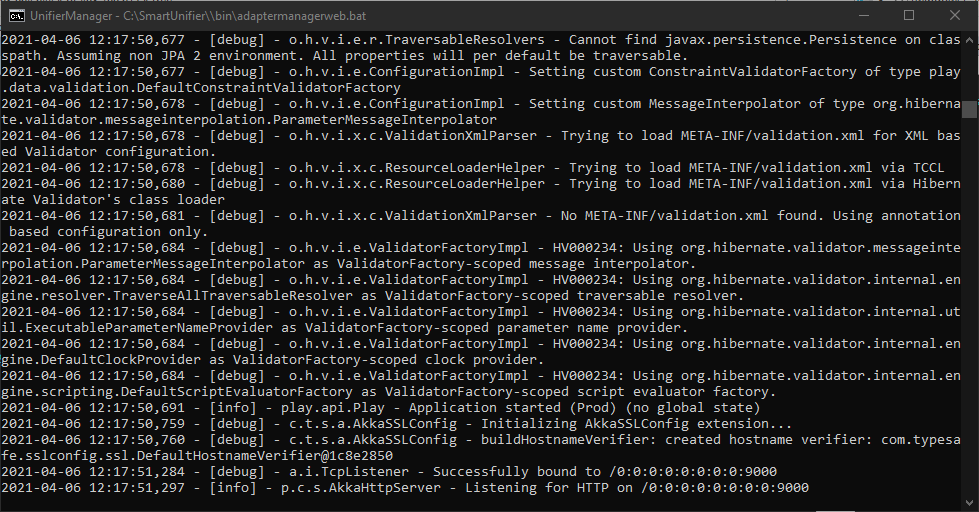
After successfully starting up the SMARTUNIFIER Manager, it can be accessed by opening an Internet Browser (e.g., Chrome or Firefox) and navigating to http://localhost:9000. Use the administrator credentials to login:
Username: admin
Password: admin
Note
The console is for information purposes only. It can be moved to any suitable location on your screen or it can be hidden. Nevertheless, do not close it, because the related processes will also be terminated.
Running SMARTUNIFIER as a Service
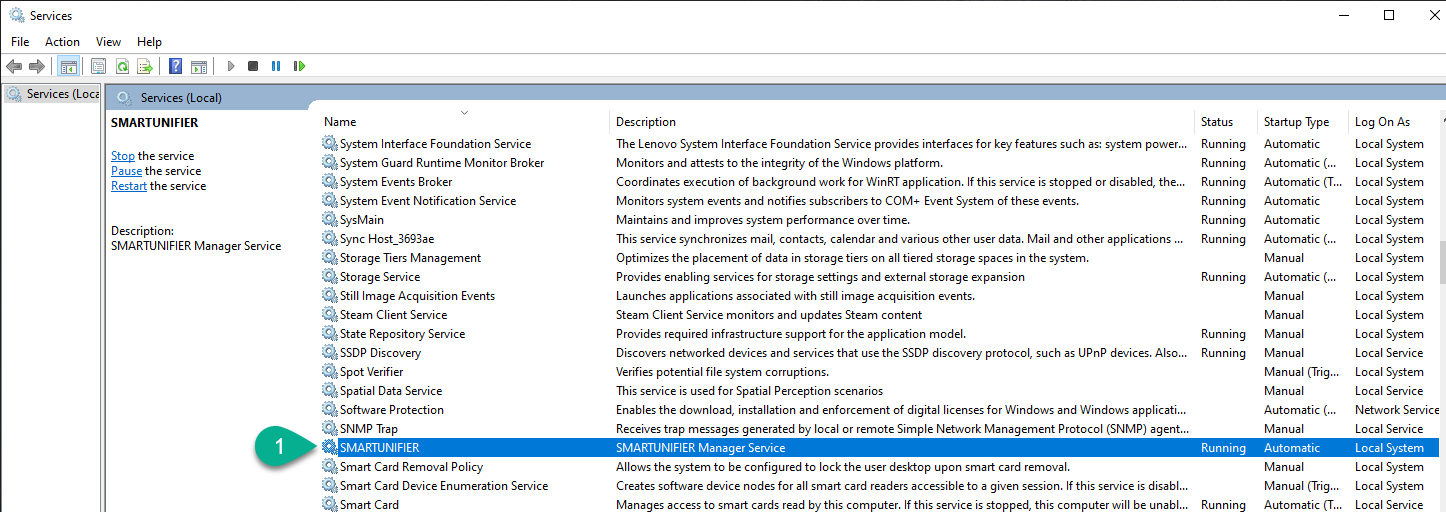
If SMARTUNIFIER was installed as a service, the service is already running.
To check open “Services” in Windows (press the “Windows” button and type “services”) and search “SMARTUNIFIER” from the list (1).
Open an Internet Browser (e.g., Chrome or Firefox) and navigating to http://localhost:9000. Use the administrator credentials to login:
Username: admin
Password: admin