Deployment Endpoints
What are Deployment Endpoints
Deployment Endpoints are used to identify the location of a Deployment (i.e., the definition where an Instance is executed). With the Deployment Endpoints, you can create and maintain those locations. This feature can only be accessed by a user with the administrator role.
Deployment Endpoints Types
Docker
SMARTUNIFIER supports the Deployment of Instances using Docker Containers. Before creating a new Deployment for an Instance using Docker. install Docker on your device and open up the Docker Remote API Interface. If you want to learn more about Docker and how to install it, visit the Docker Website. When your Docker Daemon is up and running you have to provide a Docker endpoint.
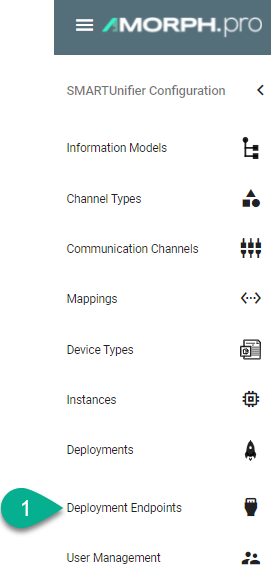
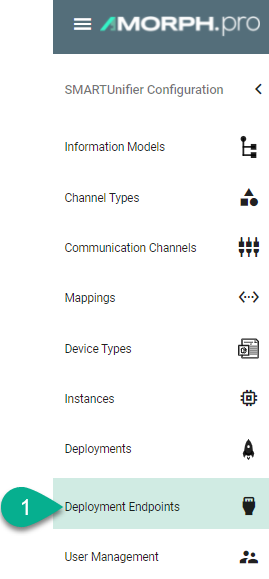
Navigate to the SMARTUNIFIER Deployment Endpoints perspective (1).

Click on the “Add Endpoint” button (2).
Select the Deployment Type Docker from the pop-up (3).

In the “Add Endpoint” view a set of configuration parameters is required (4)
Provide a Group and a Name
Provide URL. Depending on your use case choose between the unix e.g.,
unix:///var/run/docker.sockor the tcp e.g.,tcp://127.0.0.1:2375protocol.If needed, enable TLS by enabling the checkbox
After all mandatory fields are filled in, click the “Save” button (5).

AWS
Before deploying a SMARTUNIFIER Instance on AWS Fargate you need to create an AWS Deployment Endpoint. The AWS Deployment Endpoint specifies, which AWS account should be used for the deployment.
Follow the steps described below to create an AWS Deployment Endpoint:
Select the SMARTUNIFIER Deployment Endpoints perspective (1).

Click the “Add” button (2).
Select AWS (3).

Configure your AWS account by entering the following parameters (4):
Enter a Group and a Name.
Enter your AWS account ID.
Select the region.
Save the new Endpoint by clicking the “Safe” button (5):
