User Management
About User Management
Within the User Management the administrator can create users accounts, assign permissions as well as activate or deactivate user accounts.
Add a new user
This procedure describes how to create a new user account.
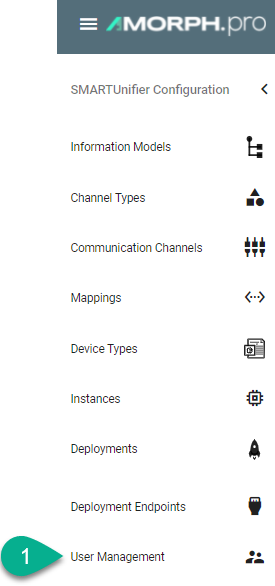
Select the SMARTUNIFIER User Management perspective (1).
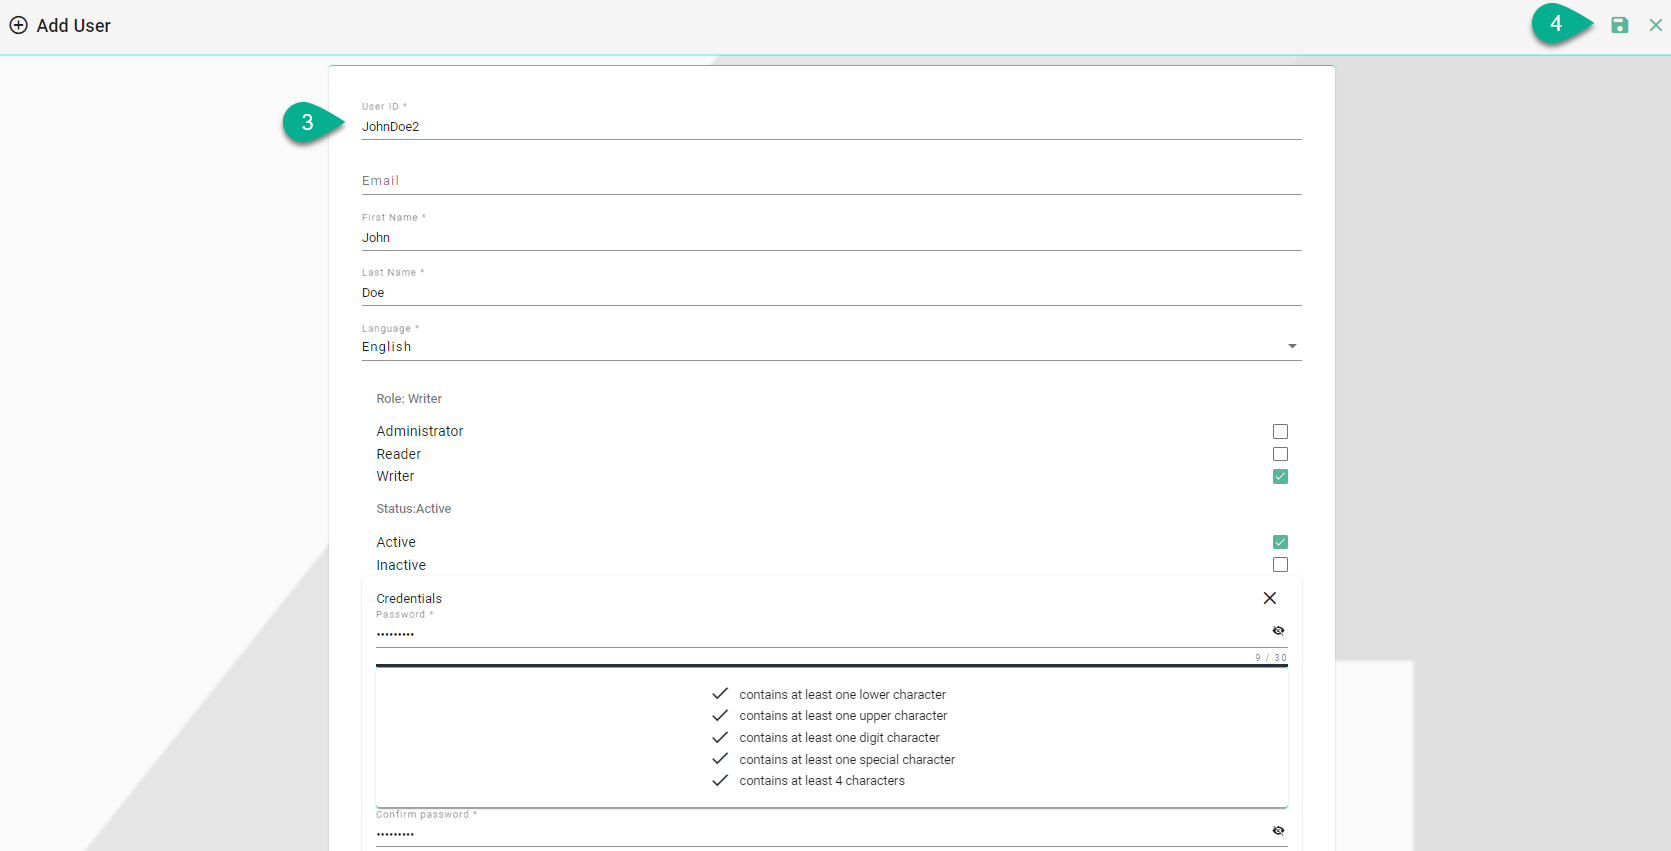
Click the “Add User” button (2).

In the “Add User” view you have to provide the following information (3):
Provide a user id, first and last name
Optionally, provide an e-mail address
Set a preferred language for the SMARTUNIFIER Manager.
The role defines the permission of the user. It is mandatory to assign a new user a role. The following roles are available for use in the SMARTUNIFIER.
Administrator: Full read and write access for the SMARTUNIFIER Configuration and Administration.
Reader: Only read access for the SMARTUNIFIER Configuration
Writer: Read and write access for the SMARTUNIFIER Configuration
Choose the account status: Active or Inactive.
Active: User account is activated and ready to use.
Inactive: User account is deactivated and cannot be used until it is activated again.
Set an initial password for the first login of the new user.
After all mandatory fields are filled in, click the “Save” button (4).
Edit a user
This procedure describes how to edit an existing user account.
Select the SMARTUNIFIER User Management perspective (1).
Click the “Edit” button (2).

In the “Edit” view the user account can be redefined (3).
update the user details: user id, first and last name, email address
change the language
edit the user permission: Administrator, Writer or Reader
activate or inactivate the user account
change the password
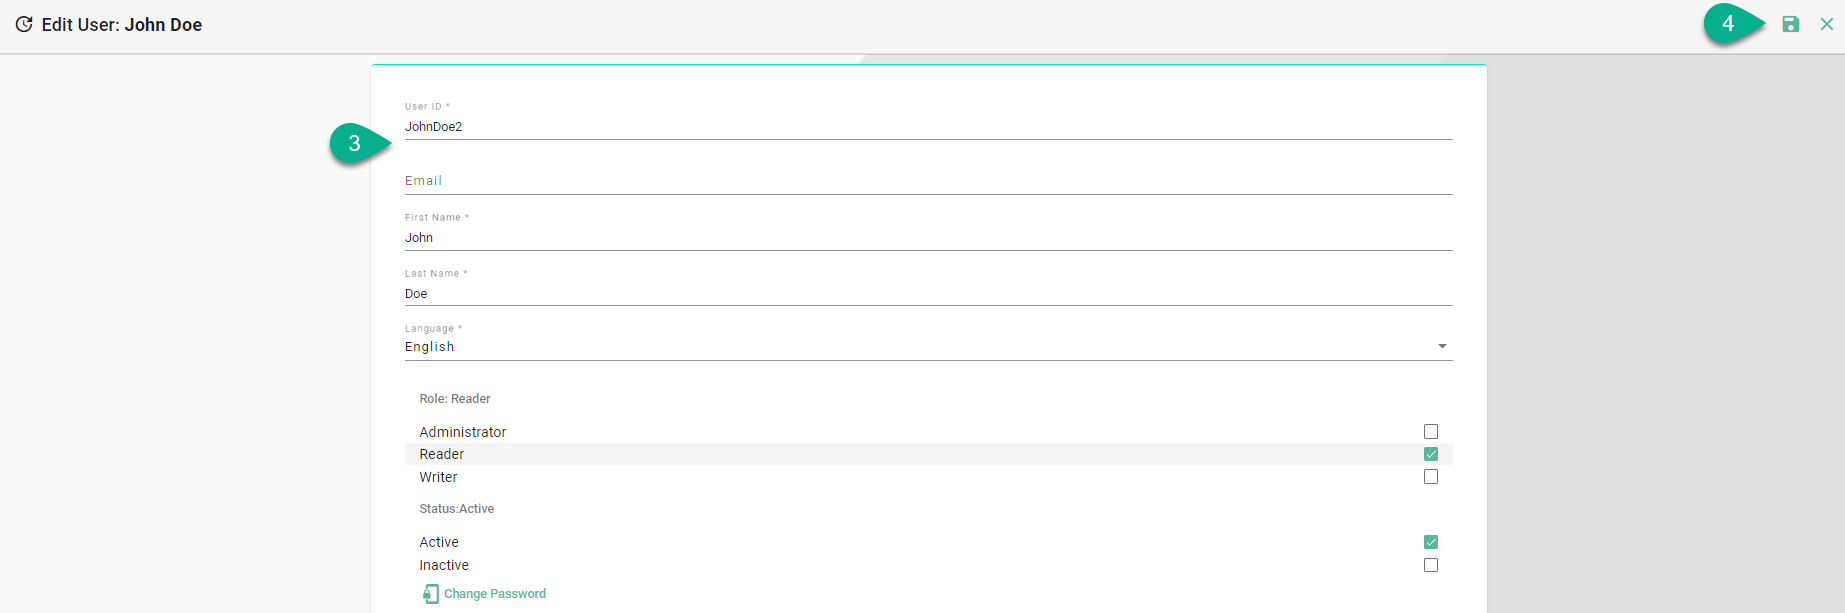
After editing, click the “Save” button (4).
Delete a user
This procedure describes how to delete a user account.
Select the SMARTUNIFIER User Management perspective (1).
Click the “Delete” button (2).

Confirm by selecting the “Delete” button (3).
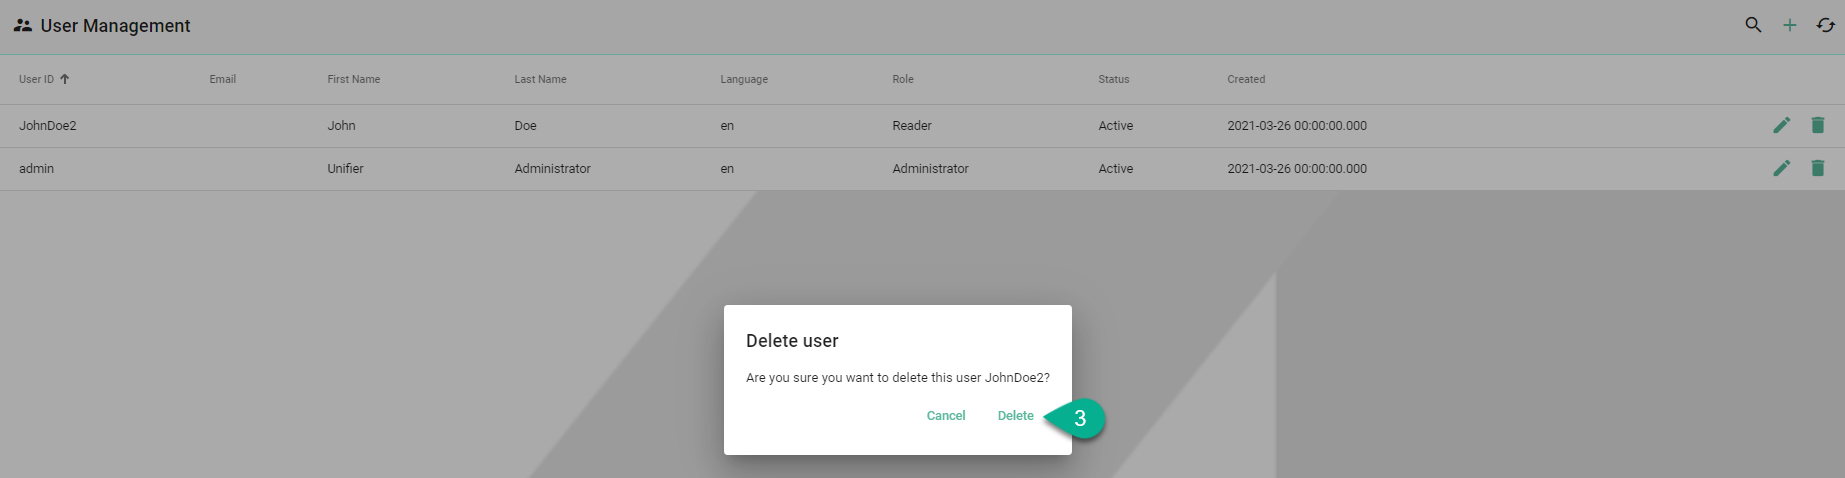
The user account is deleted and no more visible in the SMARTUNIFIER User Management perspective.
