Databases
InfluxDB
Characteristics
In case of a time series data use case where you need to ingest data in a fast and efficient way you can use InfluxDB.
Information Model Requirements
Inserts
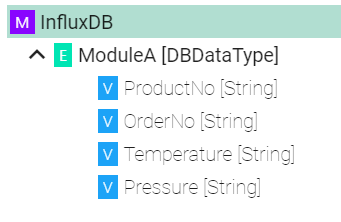
The node after the root model node must be of type Event
 which represent a database table.
Columns of databases are represented by Variables
 .
.
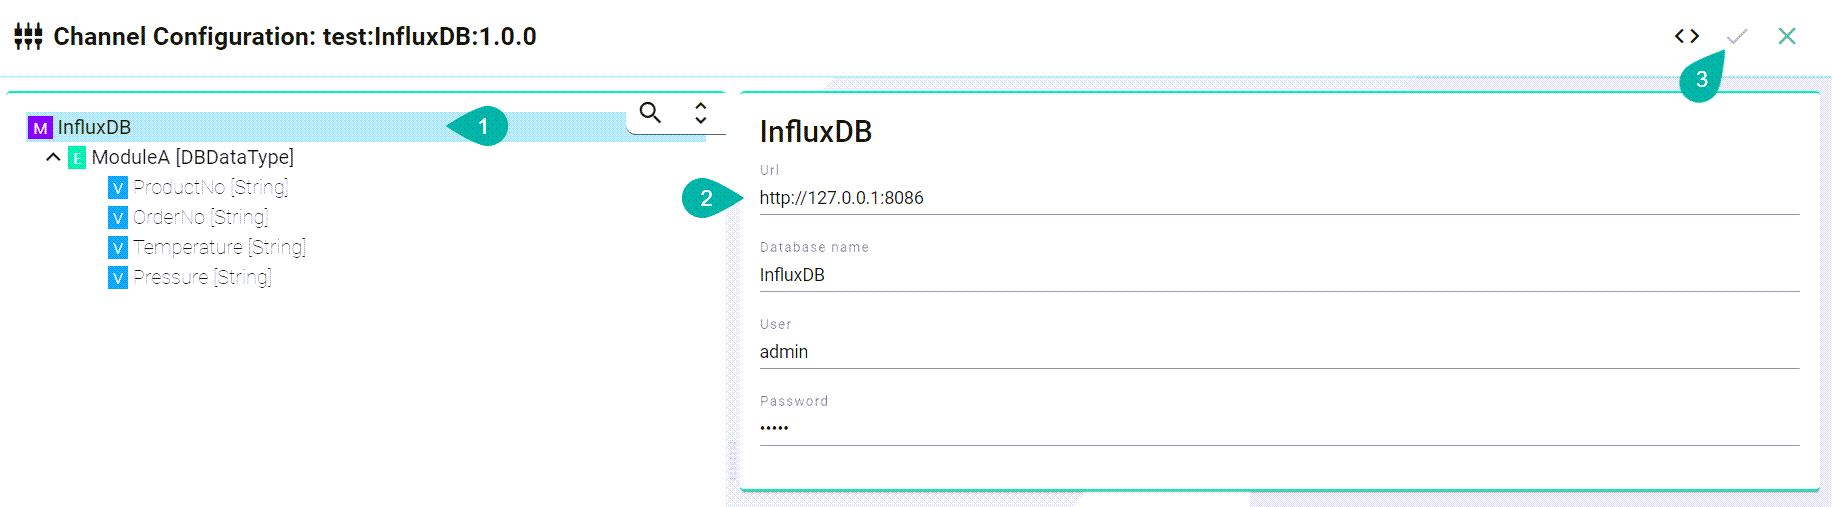
How to configure InfluxDB
Select the root model node in the tree on the left.
Configure the InfluxDB
Enter the URL to the database
Enter the database name
Enter the database user name and the password
Click the Apply button and save the Channel by clicking the Save button on the upper right corner.
SQL Database
Characteristics
The SQL Channel can be configured for the following two scenarios:
Inserting data
Updating data
Retrieving data
When inserting values into the database please note that “infinity” values are converted automatically into “null” values.
Information Model Requirements
Insert/Update
The node after the root model node must be of type Event
which represent a database table.In case of relational databases: Tables which are dependent on each other require a List
 .
.Columns of databases are represented by Variables
.

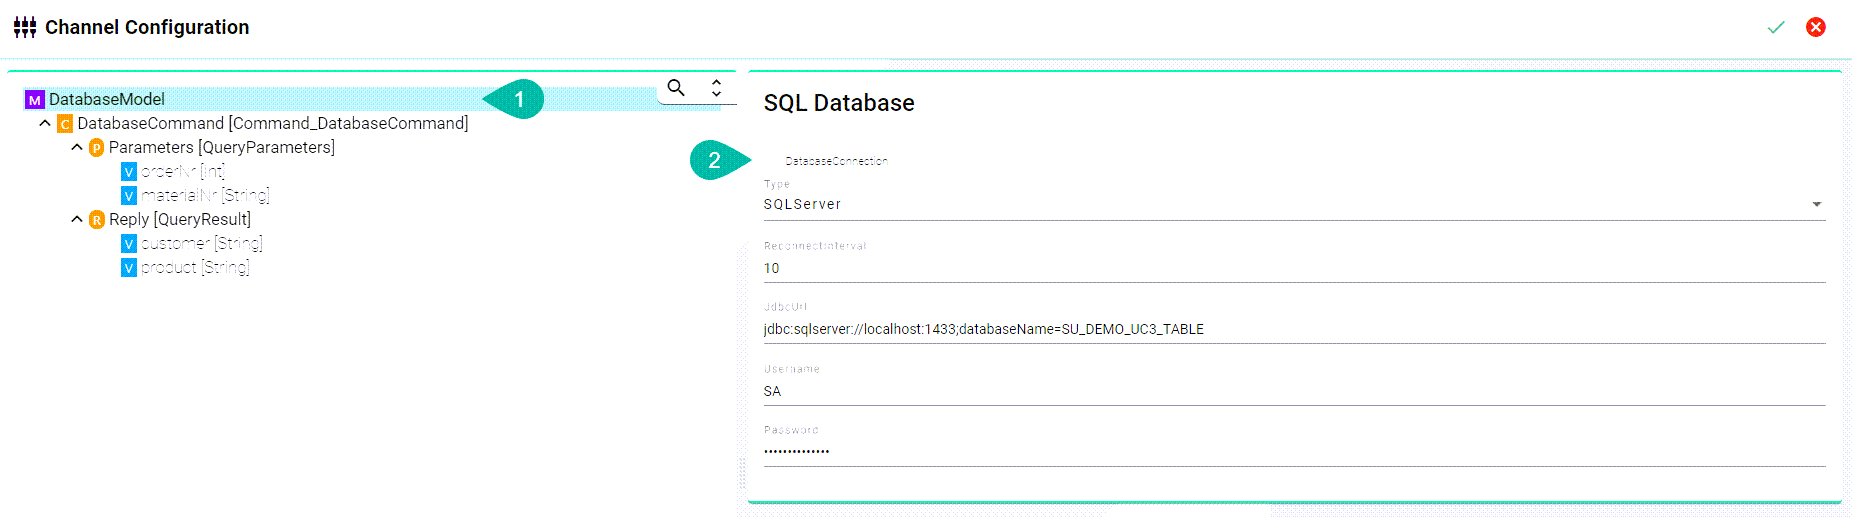
Select
The Command
 defines that after a request is made, a reply with a result is expected.
Parameters
 within a Command represent a collection of query parameter - query parameters are defined as Variables .
Reply
 within a Command represents the result of the Command - results are defined as Variables .

How to configure the SQL-Database
Select the root model node in the tree on the left.
Configure the database connection
Select the database type.
Specify a reconnection interval.
Enter the database connection url for the specific database type.
DB2:
jdbc:db2:server:port/databaseHSQLDB:
jdbc:hsqldb:file:databaseFileName;propertiesORACLE:
jdbc:oracle:thin:prodHost:port:sidPostgreSQL:
jdbc:postgresql://host:port/databaseSQLServer:
jdbc:sqlserver://[serverName[\instanceName][:portNumber]][;property=value[;property=value]]MariaDB:
jdbc:(mysql|mariadb):[replication:|loadbalance:|sequential:|aurora:]//<host>[:<portnumber>]/[database][?<key1>=<value1>[&<key2>=<value2>]]
Enter the database user name and password.
Property |
Description |
Mandatory |
Example |
|---|---|---|---|
Type |
Type of the database |
Yes |
|
ReconnectInterval |
Time to reconnect if connection fails |
Yes |
|
JdbcUrl |
Url to connect to database |
Yes |
SQLServer: |
Username and password |
Credentials of the database |
Yes |
Note
The configuration of specific information model nodes differs whether you want to perform an insert or an select statement on the database. Inserting data into the database requires an event node whereas selecting data requires a command node in the Information Model.
Select Statement
Select the command node in the tree on the left.
Check the custom query checkbox and enter the sql query.

Insert Statement
Select the event node in the tree on the left.
Check the insert checkbox and enter the table name. If required enter a schema name.

Each variable under Parameters and Reply needs to be assigned to a database column. Select the variable node under Parameters and in the tree select what needs to be configured.
Check the assign database column checkbox and enter the column name as it is defined in the used database.
