Deployment Steps
Expected Time
Deployment of an SMARTUNIFIER Instance on AWS Fargate (Exisiting AWS Resources) - expected deployment time: 3-5 min
Deployment of an SMARTUNIFIER Instance on AWS Fargate (Creation of needed AWS Resources required) - expected deployment time: 20-30 min (Please note that this is a one time setup of the customers AWS cloud infrastructure)
Deployment of the SMARTUNIFIER Instance
If you have not already set up an AWS Deployment Endpoint please refer to chapter: AWS Endpoint.
Follow the steps described below to deploy a SMARTUNIFIER Instance on AWS Fargate:
Select the SMARTUNIFIER Deployment perspective (1).
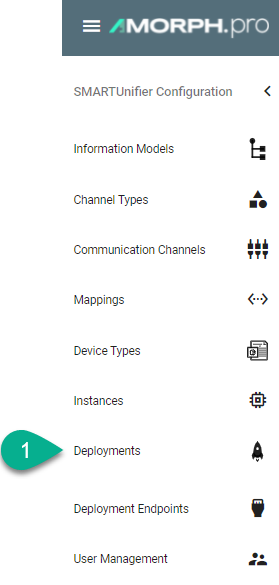
Click the “Add” button (2).
Select AWS (3).

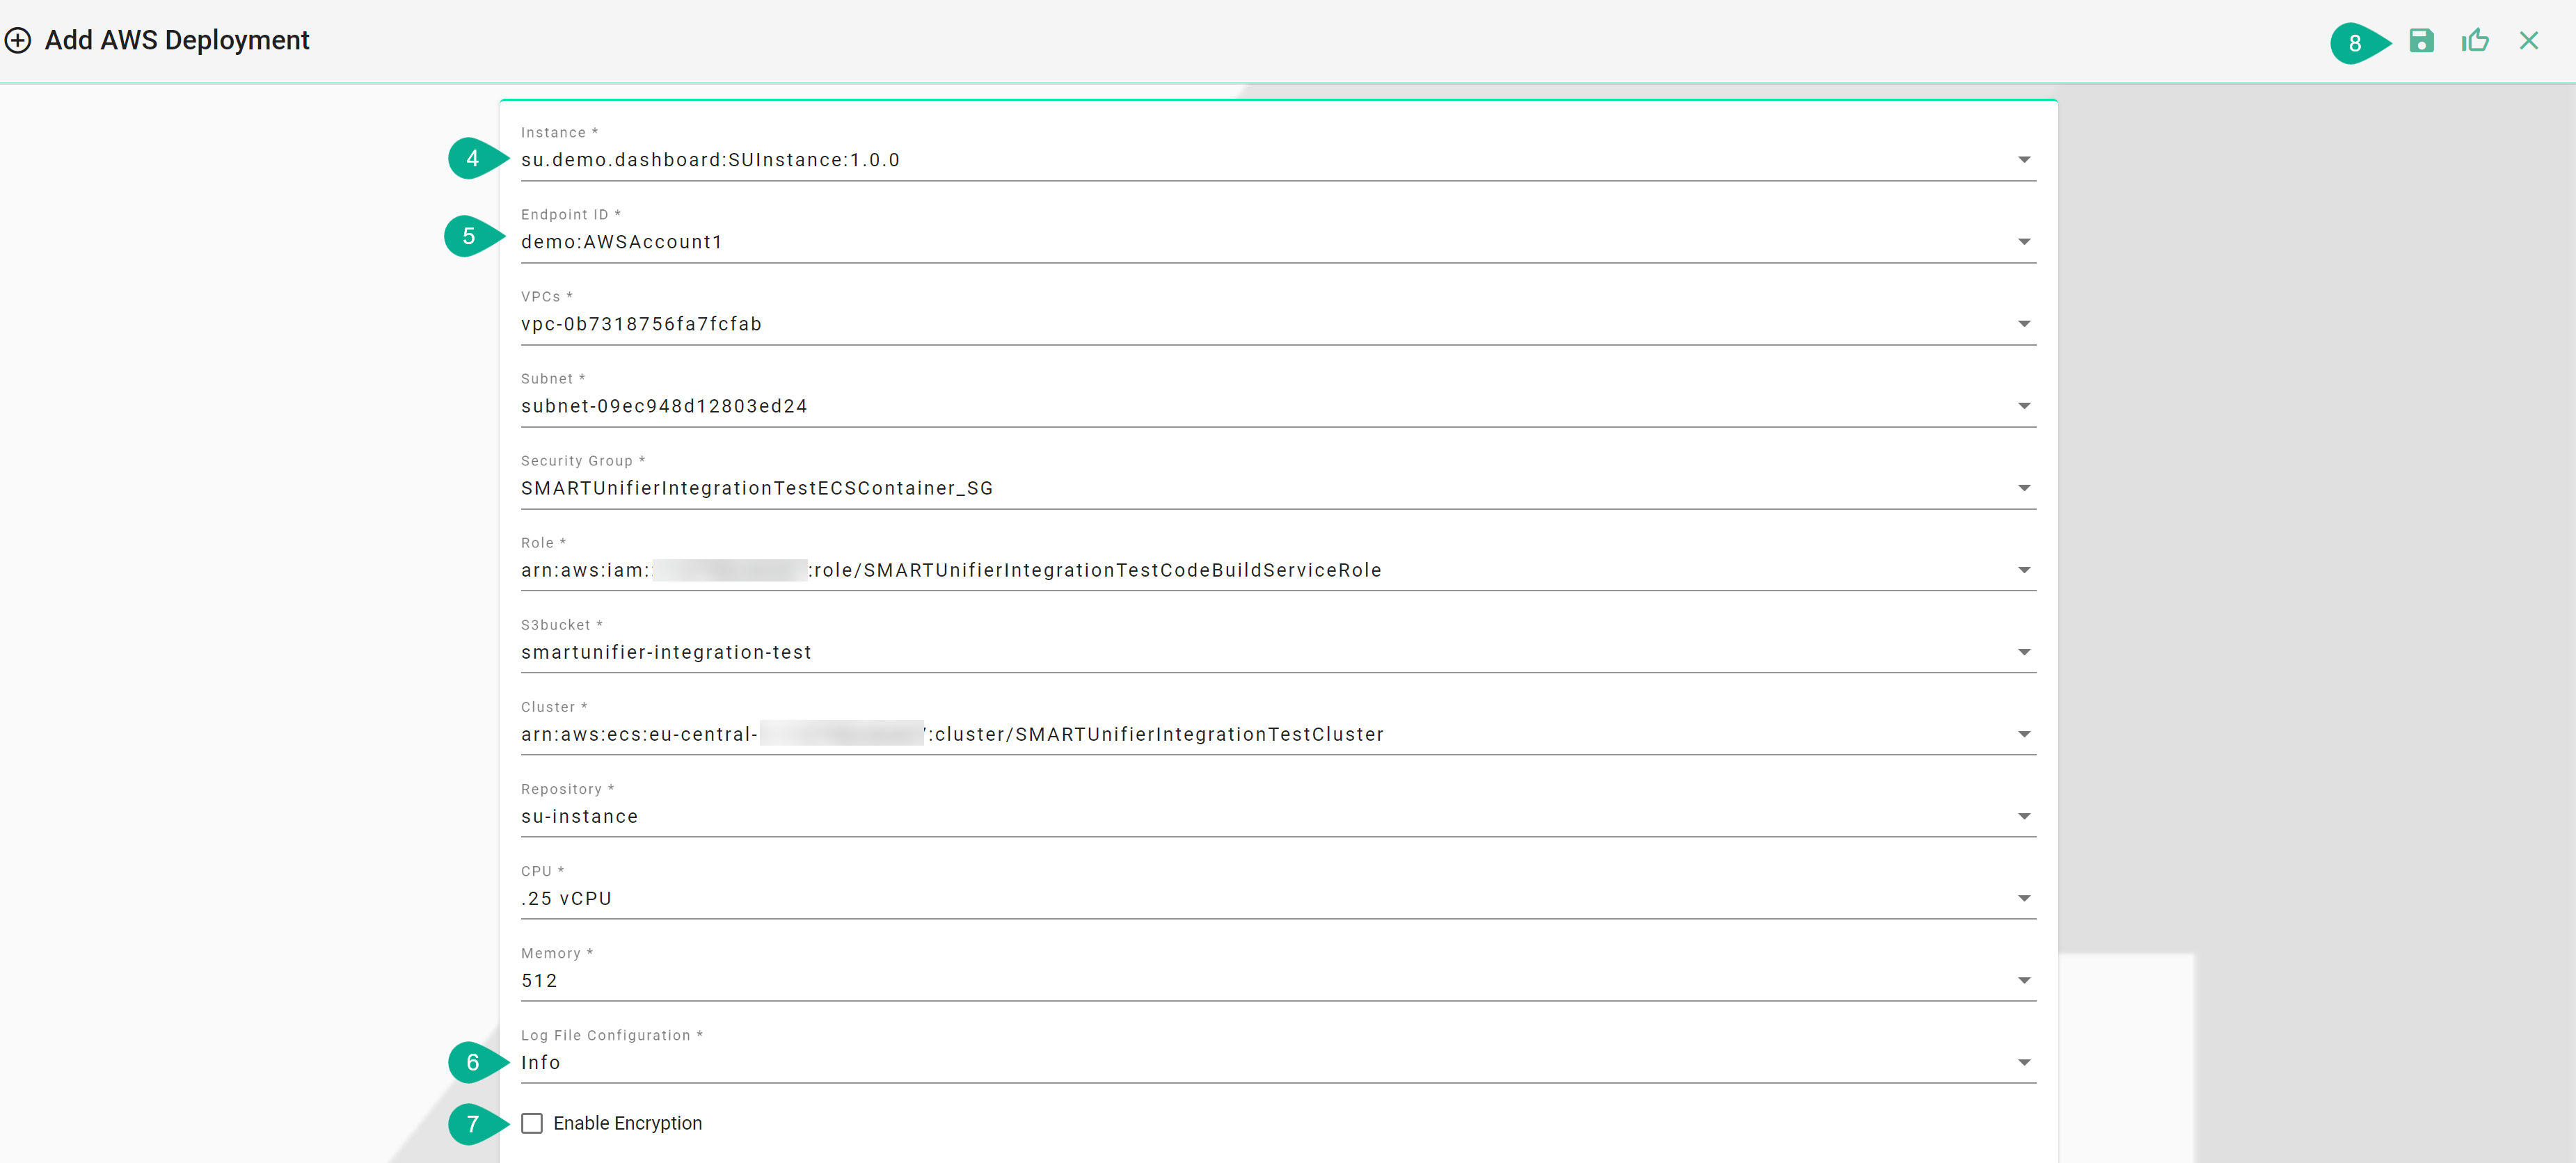
Select the SMARTUNIFIER Instance you want to deploy (4):
Select your AWS account in form of a Deployment Endpoint created previously (5) and configure the following parameters:
Select the VPC in which you want to deploy the SMARTUNIFIER Instance.
Select a Subnet within the VPC.
Select a Security Group.
Select a IAM Role for AWS CodeBuild.
AWS CodeBuild needs an service role so that it can interact with dependent AWS services onbehalf of SMARTUNIFIER.
Select a S3 Bucket.
Select a ECS Cluster in which the Instance should be deployed.
Select an ECR Repository.
The AWS CodeBuild project, which is created and triggered by SMARTUNIFIER, pushes an Image to the provided Amazon ECR Repository.
Select the Task’s - CPU.
Select the Task’s - Memory.
Select the Log File Configuration (Determines the log level detail) (6).
Enable the encryption checkbox, if you want to encrypt the SMARTUNIFIER Communication Instance (7)
Save the Deployment by clicking the “Save” button (8).
Go back to the list view by clicking the “Close” button and deploy your SMARTUNIFIER Instance by clicking the “Deploy” button (8).

You can start and stop the Instance using SMARTUNIFIER by clicking the “Start”/”Stop” button or using the AWS Console.
Monitoring
Once deployed and started, the SMARTUNIFIER Instance logs can be accessed via Amazon CloudWatch.
In order to access log files follow the steps below:
Go to the Amazon CloudWatch Service via the Console.
Select Log groups from the menu on the left.
Select awslogs-testinstance and select a log Stream.