Mappings
What are Mappings
Mappings represent the SMARTUNIFIER component that defines when and how data exchange or transformation occurs between two or more Information Models. Essentially, it acts as a translator between different Information Models.
A Mapping consists of one or more Rules. A Rule is made up of a Trigger and a list of Actions:
Trigger: specifies when the data exchange or transformation occurs. It can be an element in the Information Model or time-based (e.g., every 5 minutes). See the full list of Triggers below:
Node Types in the Information Model such as:
Variables
Events
Commands
Properties
Arrays
Schedulers, which are time-based triggers, offer the following options:
Fixed Rate - The rule is triggered at a fixed interval.
Fixed Delay - The rule is triggered at a fixed interval with an initial delay.
Timeout - The rule is triggered once after a specified delay.
How the different triggers are used is explained in the following sections on Graphical and Code-based approaches to create a Rule.
Actions: define how the data is mapped from source Node Types to target Node Types.
How to create a new Mapping
Follow the steps below to create a new Mapping definition:
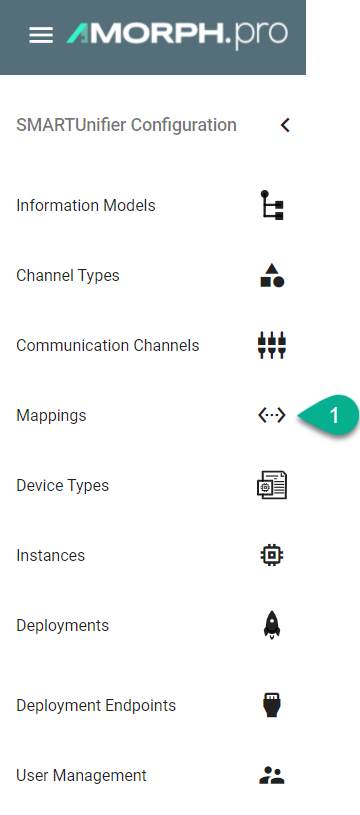
Go the Mappings perspective by clicking the “Mappings” button (1)

The following screen displays a list view of existing mappings.
To add a new mapping, select the “Add Mapping” button located in the top right corner (2).

On the subsequent screen, provide the following mandatory information: Group, Name, and Version. A description, which is optional, can also be added (3).
Click the “Add Model” button (4).
Select the Information Model for this mapping and enter a short name for it. The short name is used to access elements within the model. (5)
To remove a model from the mapping, click the “Remove Model” button (6). This action is only possible if elements of the model are not used within the mapping’s rules. To delete a model, ensure that you first remove its elements from the rules.
Once all mandatory fields have been filled in, the “Save” button located in the top right corner will be enabled. Click this button to submit the new Mapping (7).
The newly created mapping is now visible in the list view.

How to create Rules
To create Rules, follow the steps described below:
Select the “Edit” button (1).

Select the “Add Rule” button located in the top right corner (2).
Two options are available:
Single Rule - Defining a single trigger and a list of actions. The Trigger can be an element in the Information Model or time-based (e.g., every 5 minutes).
Multi Rule - Defining multiple triggers, each with assignments between source and target elements. The Trigger is the change of a source element in the Information Model.

Rule Naming Convention
The name of the rule should reflect the logic that is executed when the rule is triggered. Below are some examples:
Example Scenarios |
Good Naming |
|---|---|
Inserting data into a database |
Database_Insert |
Executing a POST/PUT request on a REST server |
Update_Data |
Reacting to an input (e.g., StartOrder button on a MES) |
StartOrder |