Deploy Locally
SMARTUNIFIER Communication Instances can be deployed on the IT-resource where the SMARTUNIFIER Manager is running on (e.g., a computer, a server or the AWS Cloud).
Note
Before deploying a Local Communication Instance make sure to create and Start a Local Deployment Endpoint. The Deployment Endpoint specifies the location where you want the Instance to run.
Follow the steps described below in order to deploy a Communication Instance locally:
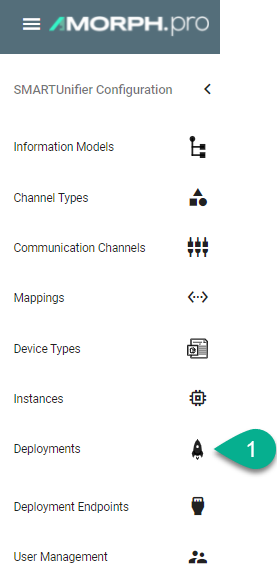
Select the SMARTUNIFIER Deployment perspective (1).
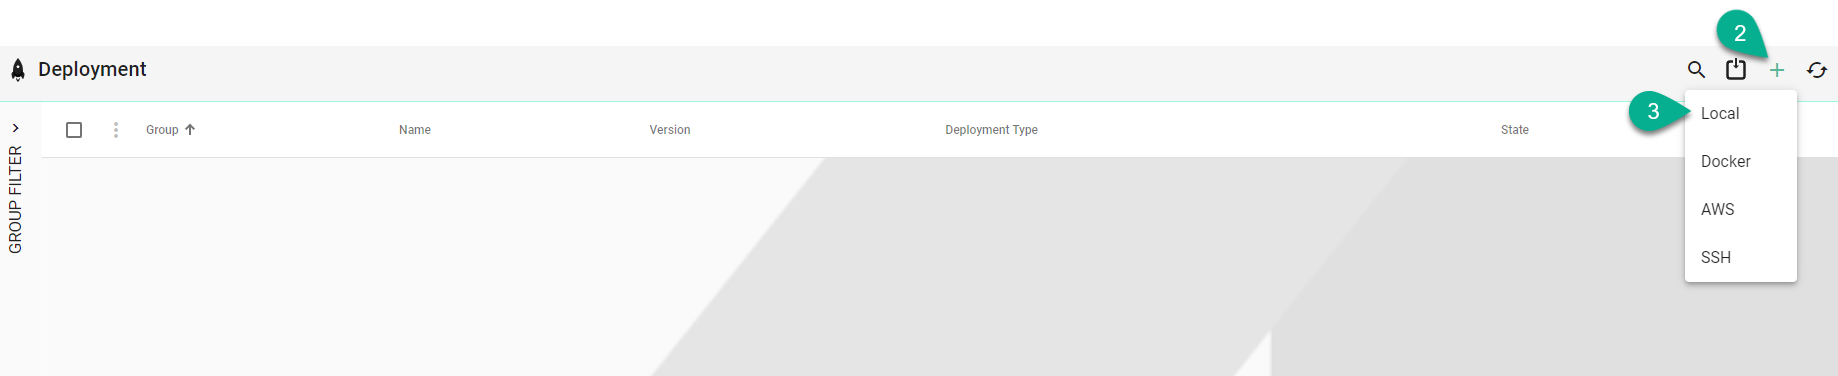
Click on the Add Deployment button (2).
Select the Deployment Type Local from the pop-up (3).
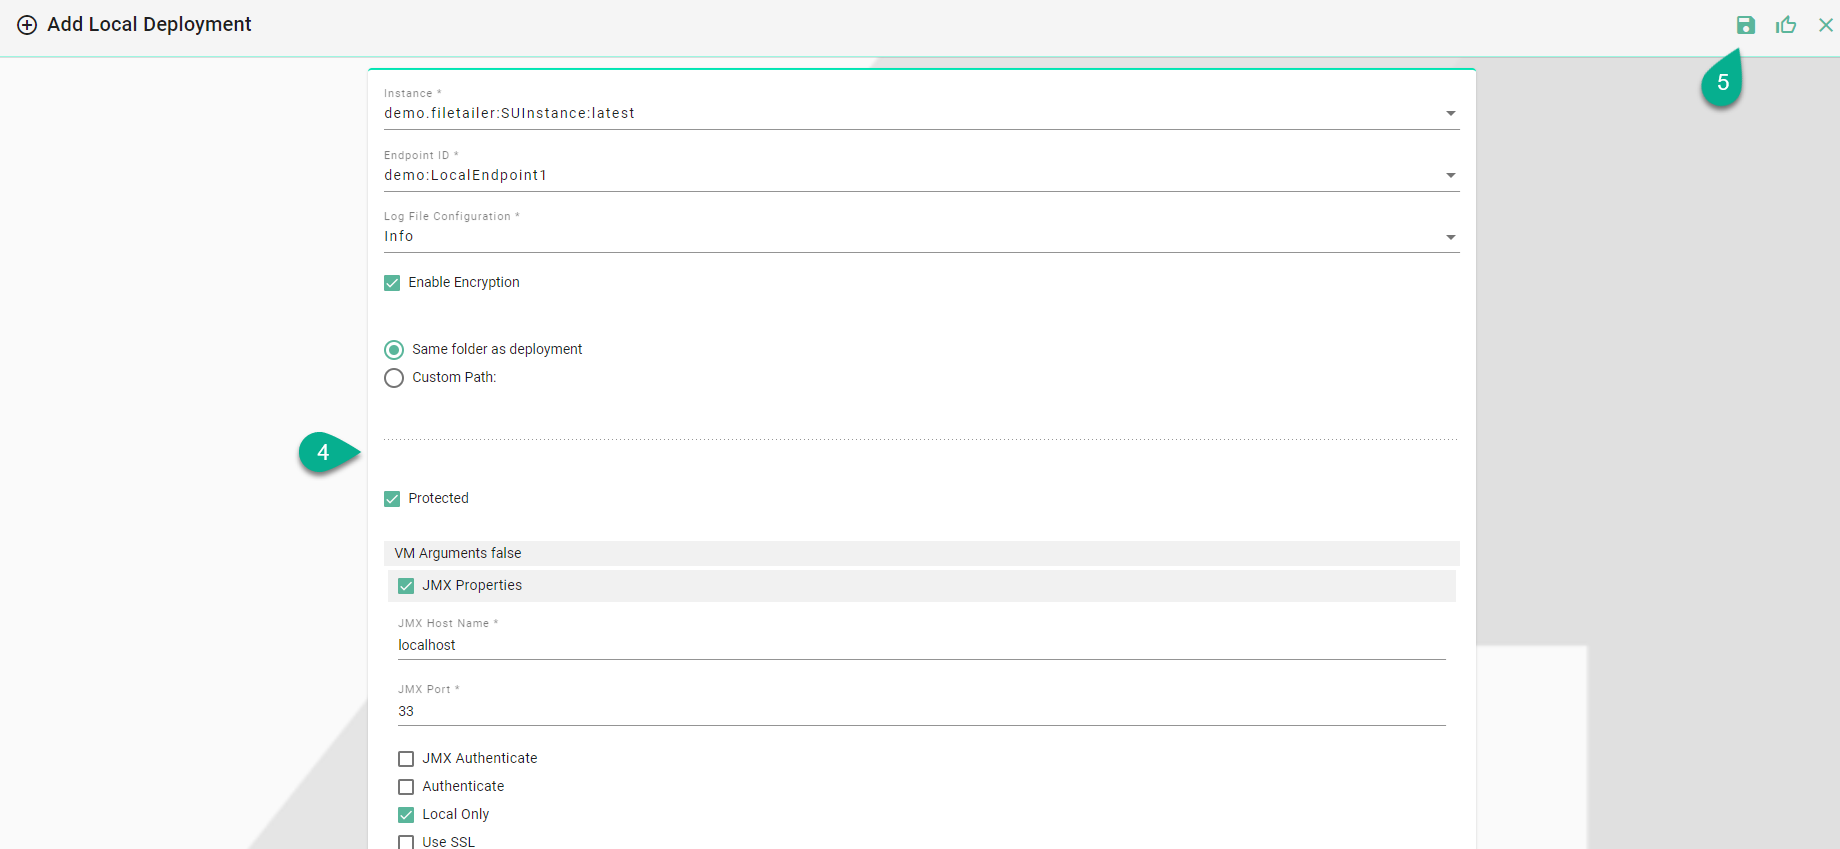
In the Add Deployment view a set of configuration parameters is required (4)
Select the SMARTUNIFIER Communication Instance to be used in the Deployment.
Select the Local Endpoint.
Select the log file level. We recommend the log level of type Info in case of a normal deployment scenario.
(Optional) Enable Encryption.
(Optional) Enable Protection.
(Optional) Add VM Arguments.
When all mandatory fields are filled click the Save button (5).
When the Instance is deployed, it’s configuration will be copied in the Deployment folder defined in the Local Deployment Endpoint configuration.
Note
The Instance configuration folder can be copied to another location and started, but the Instance will not be monitored by the SMARTUNIFIER Manager.